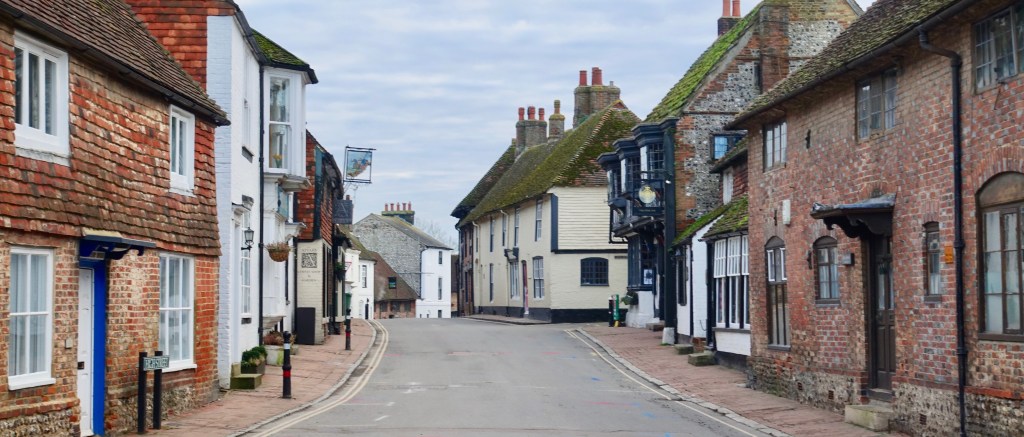
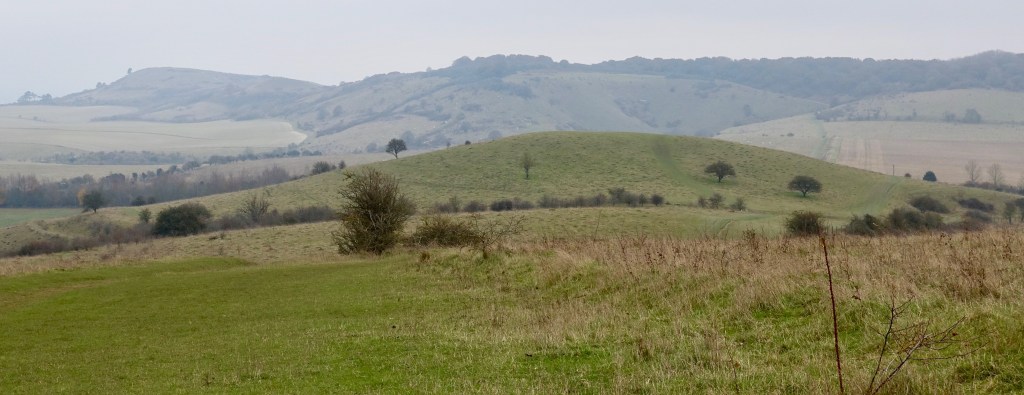
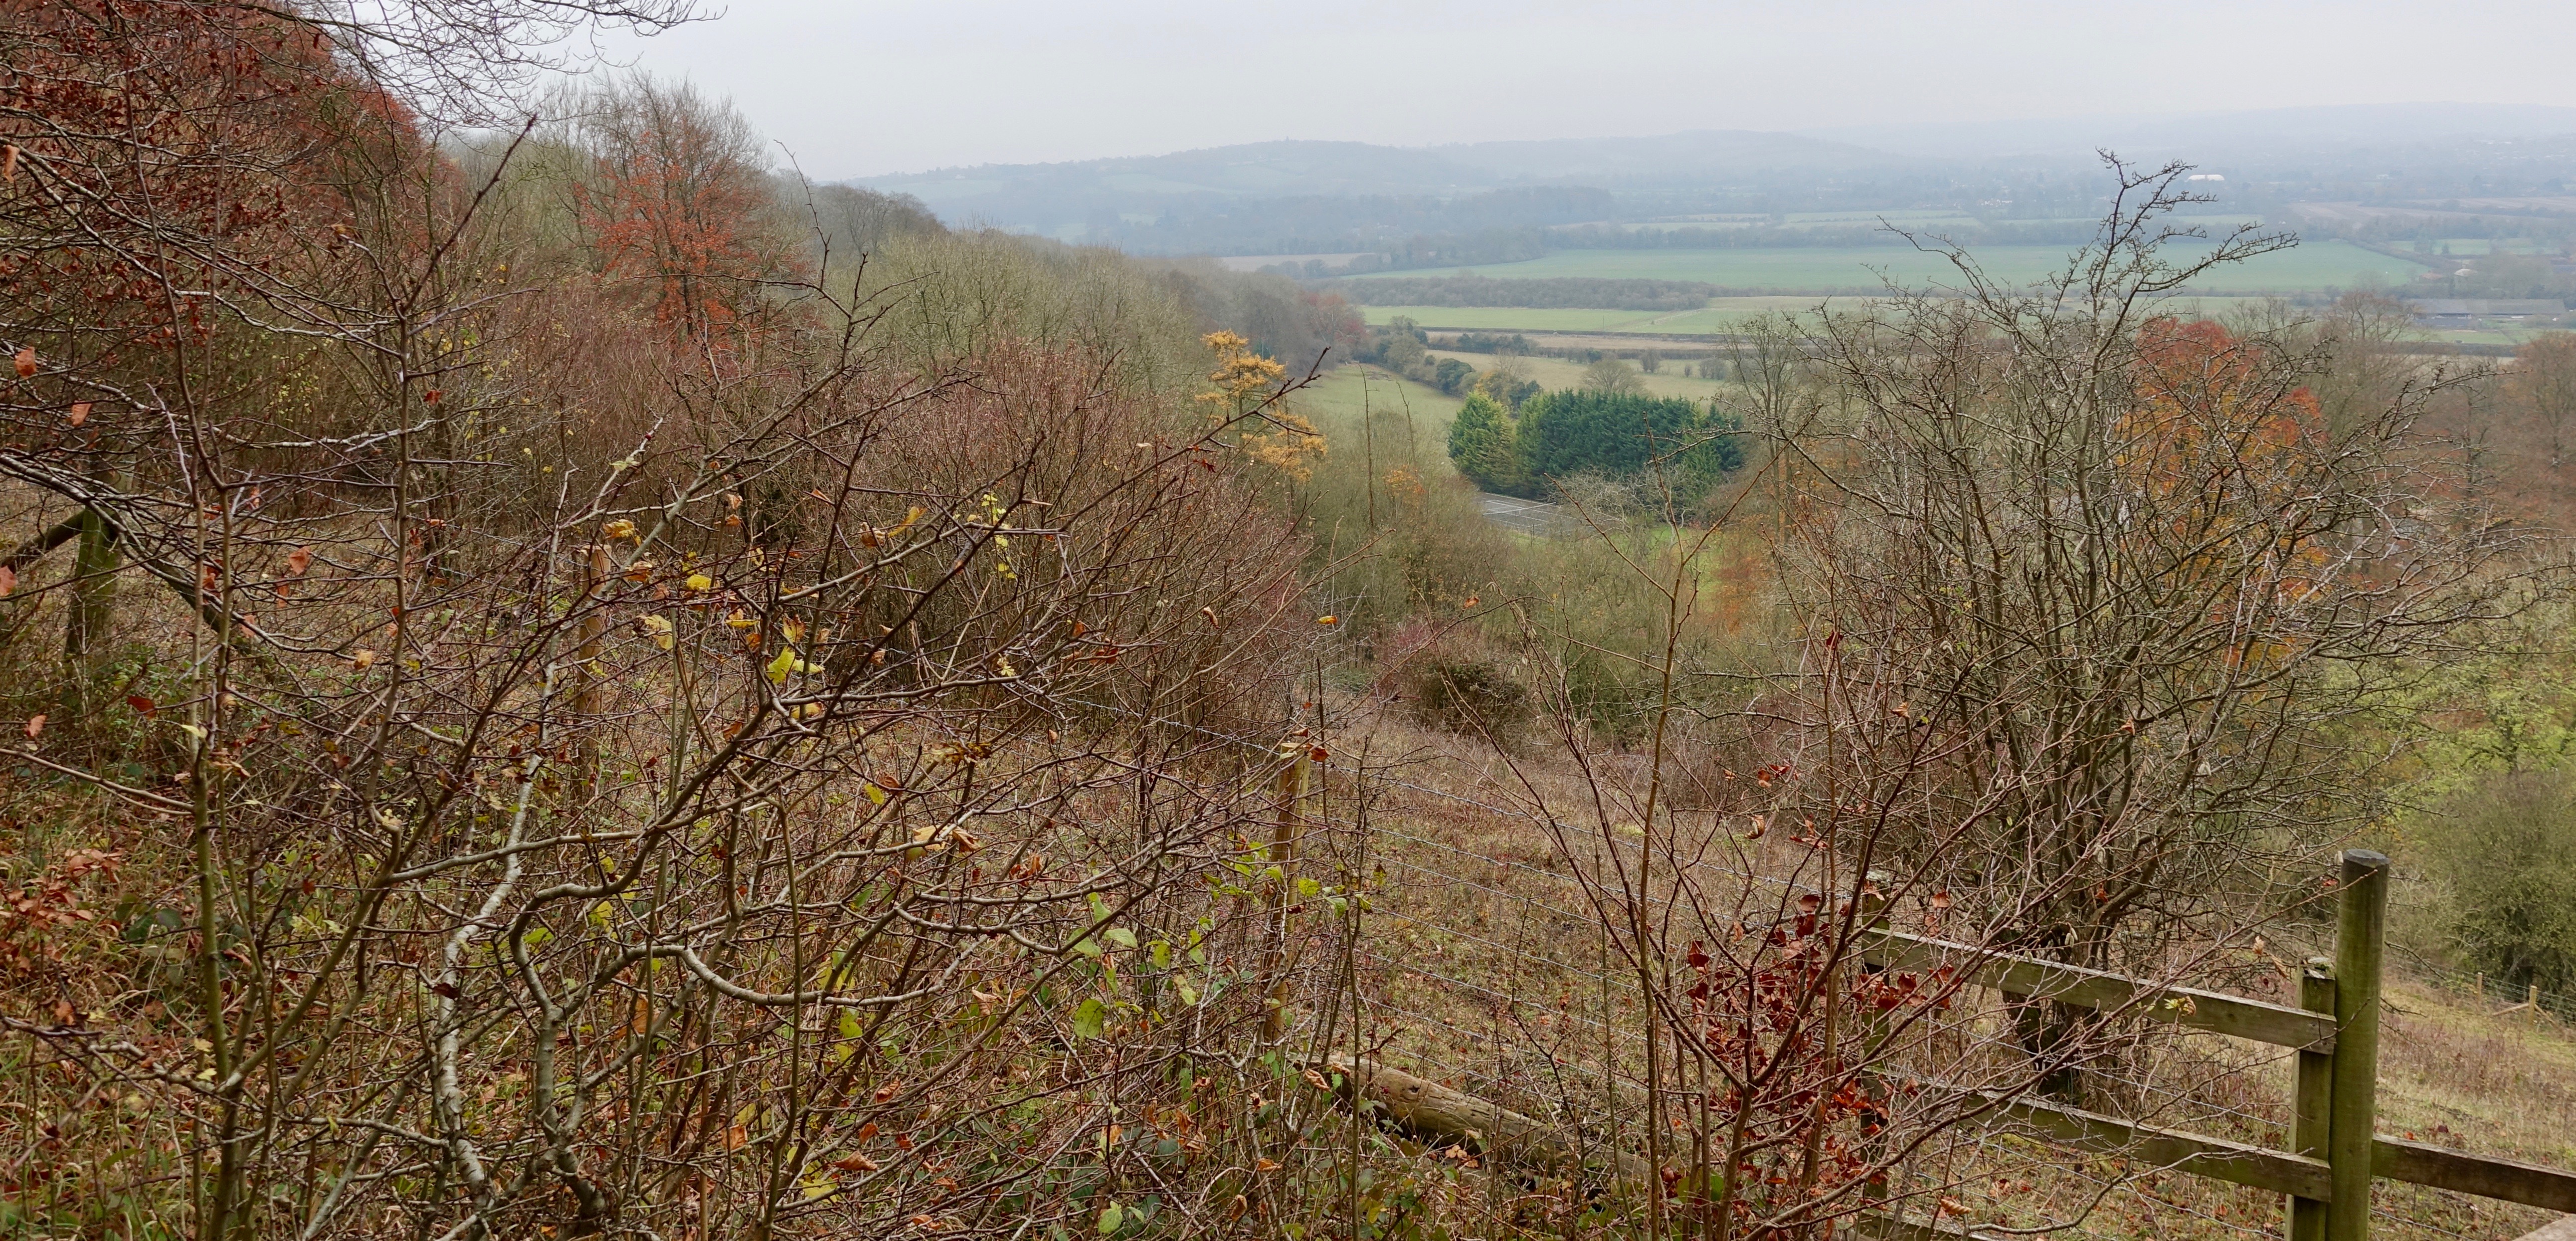
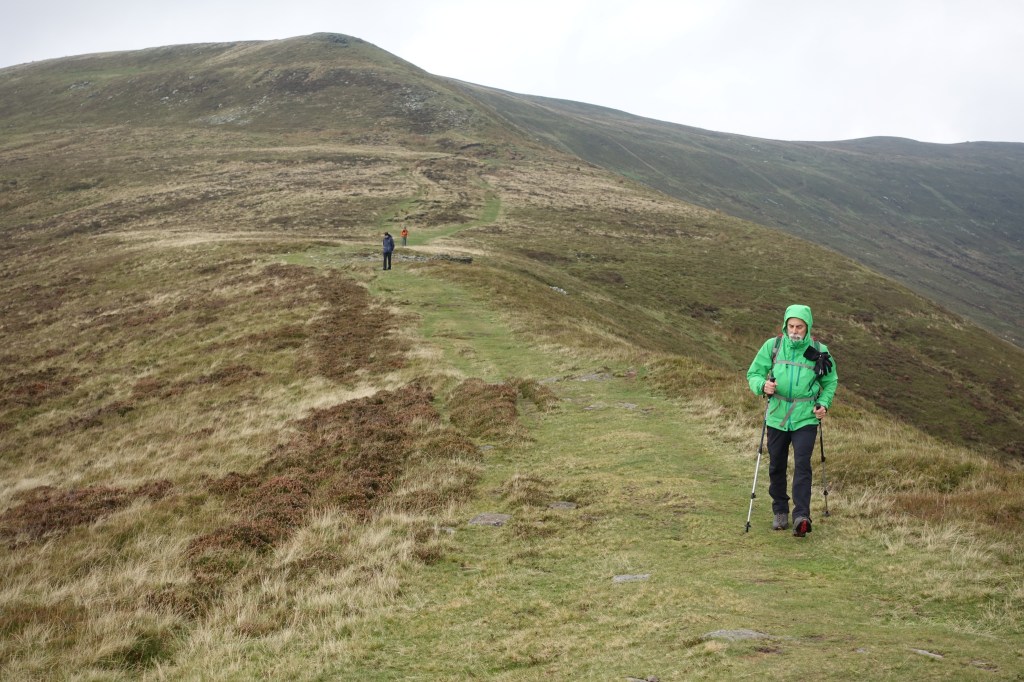
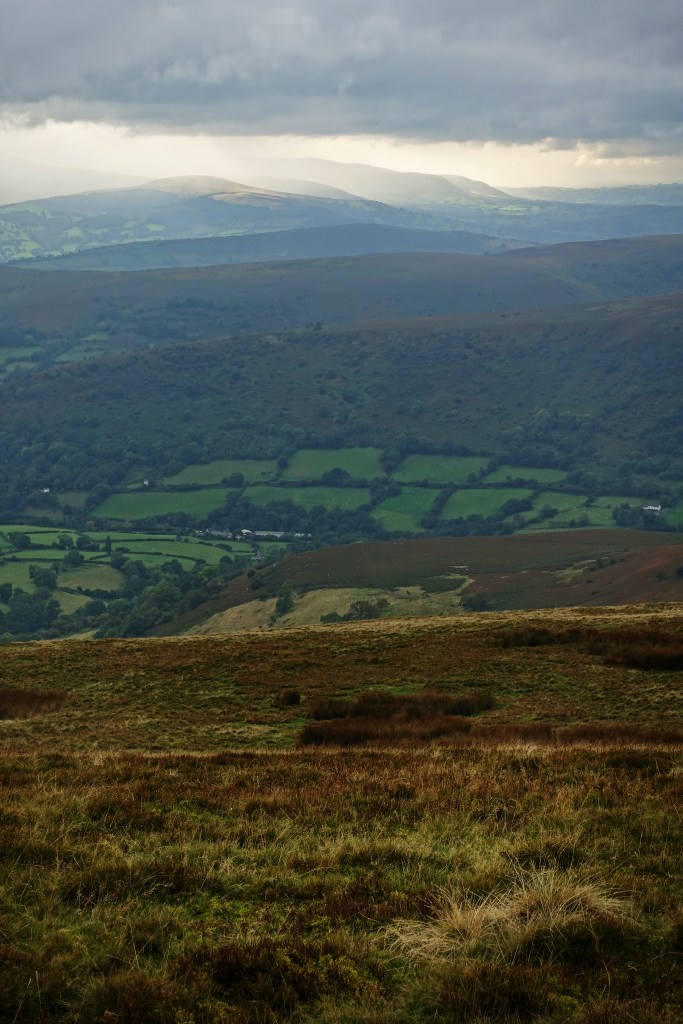
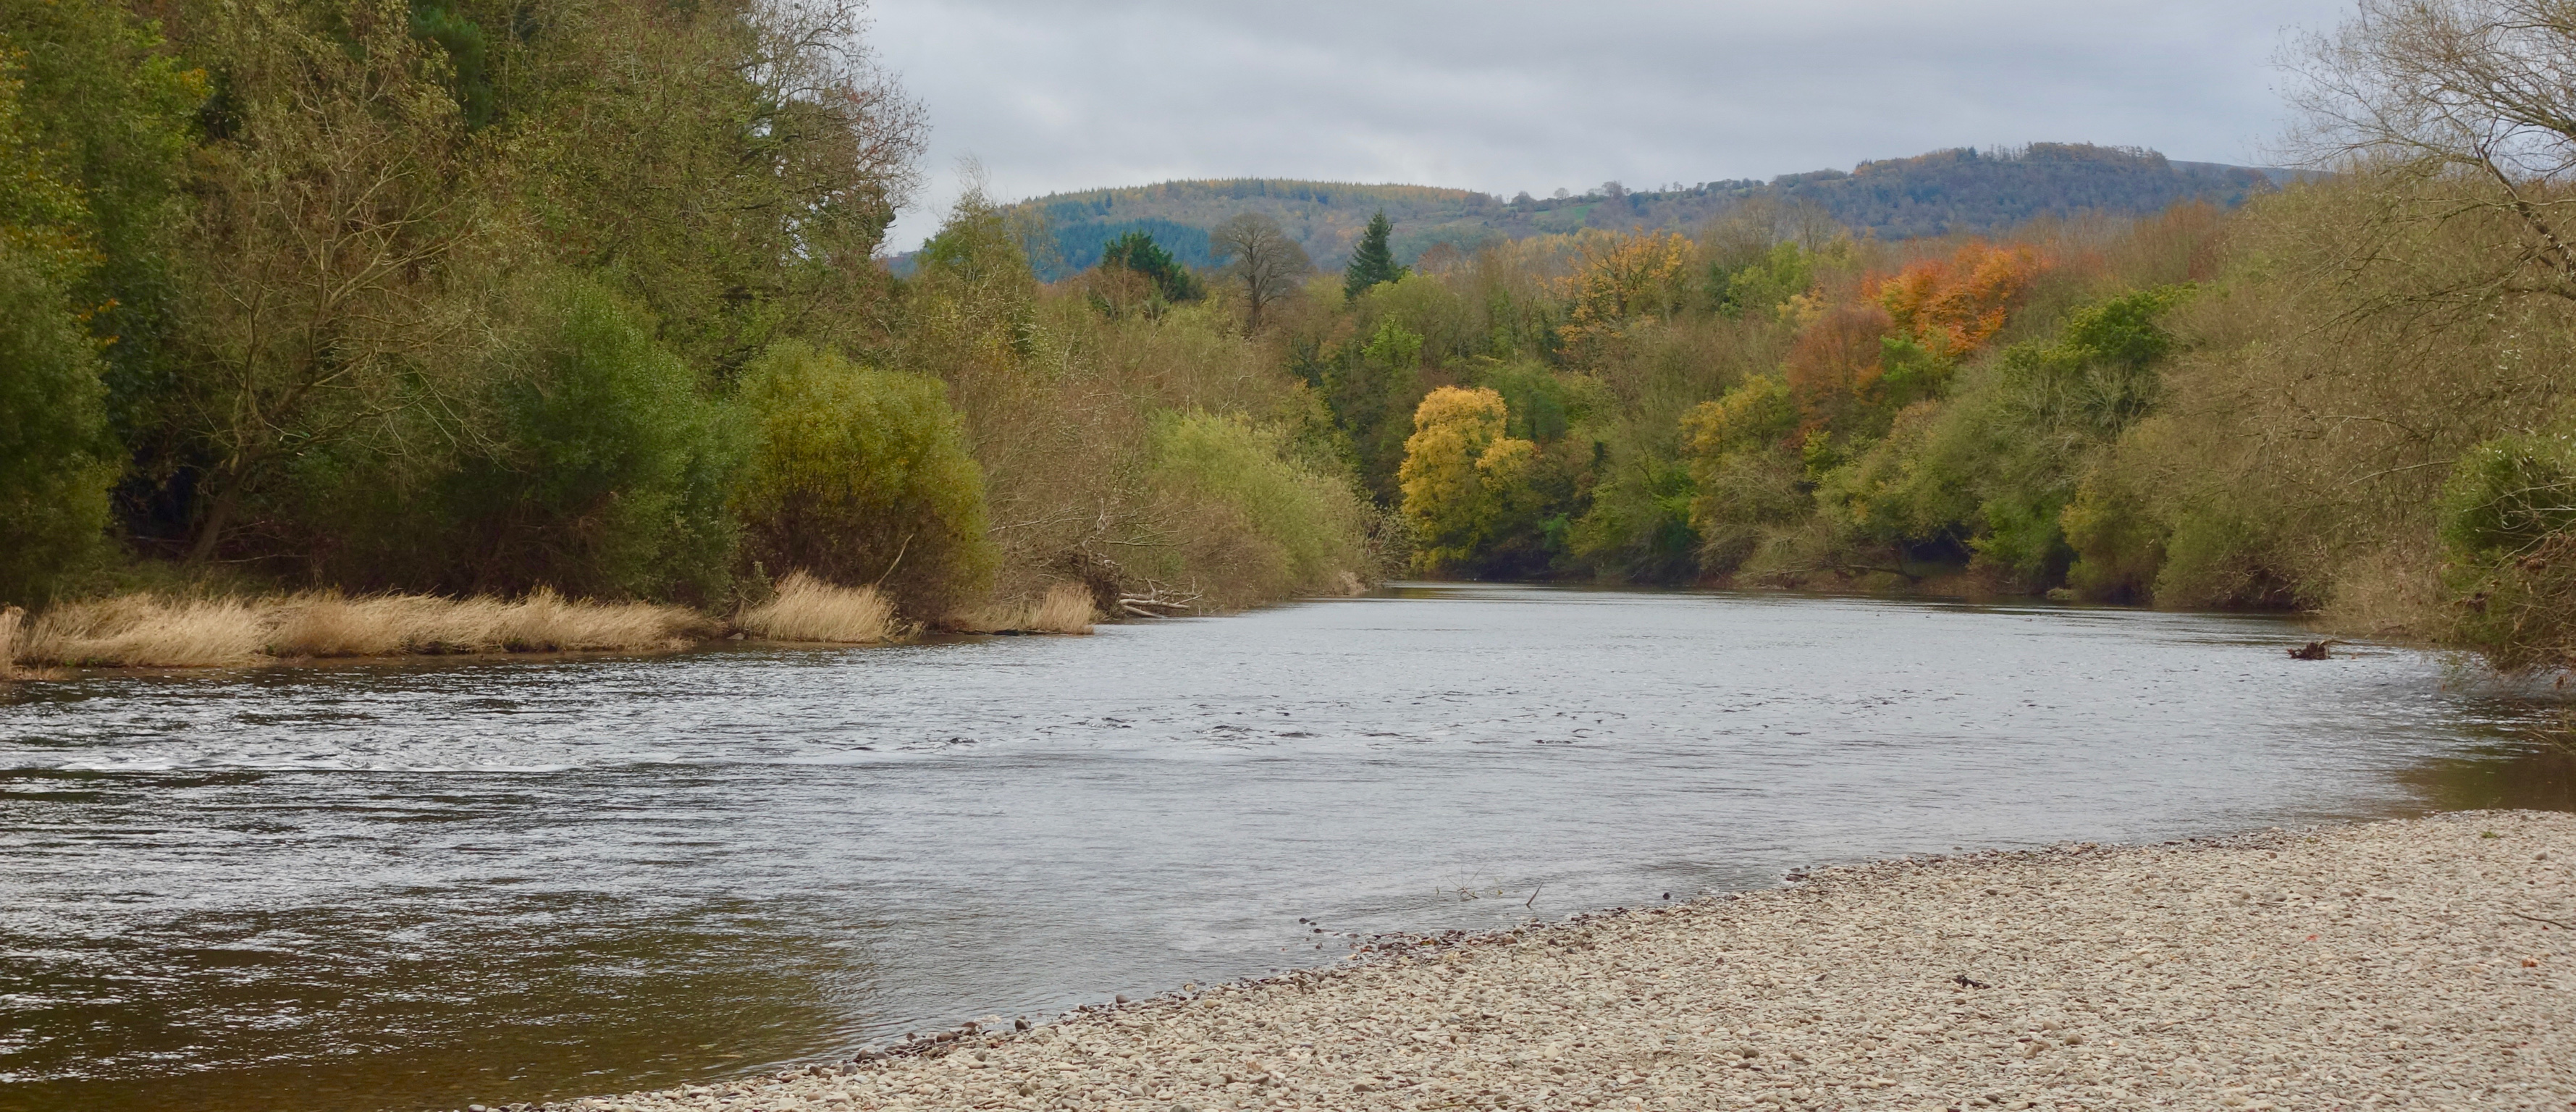
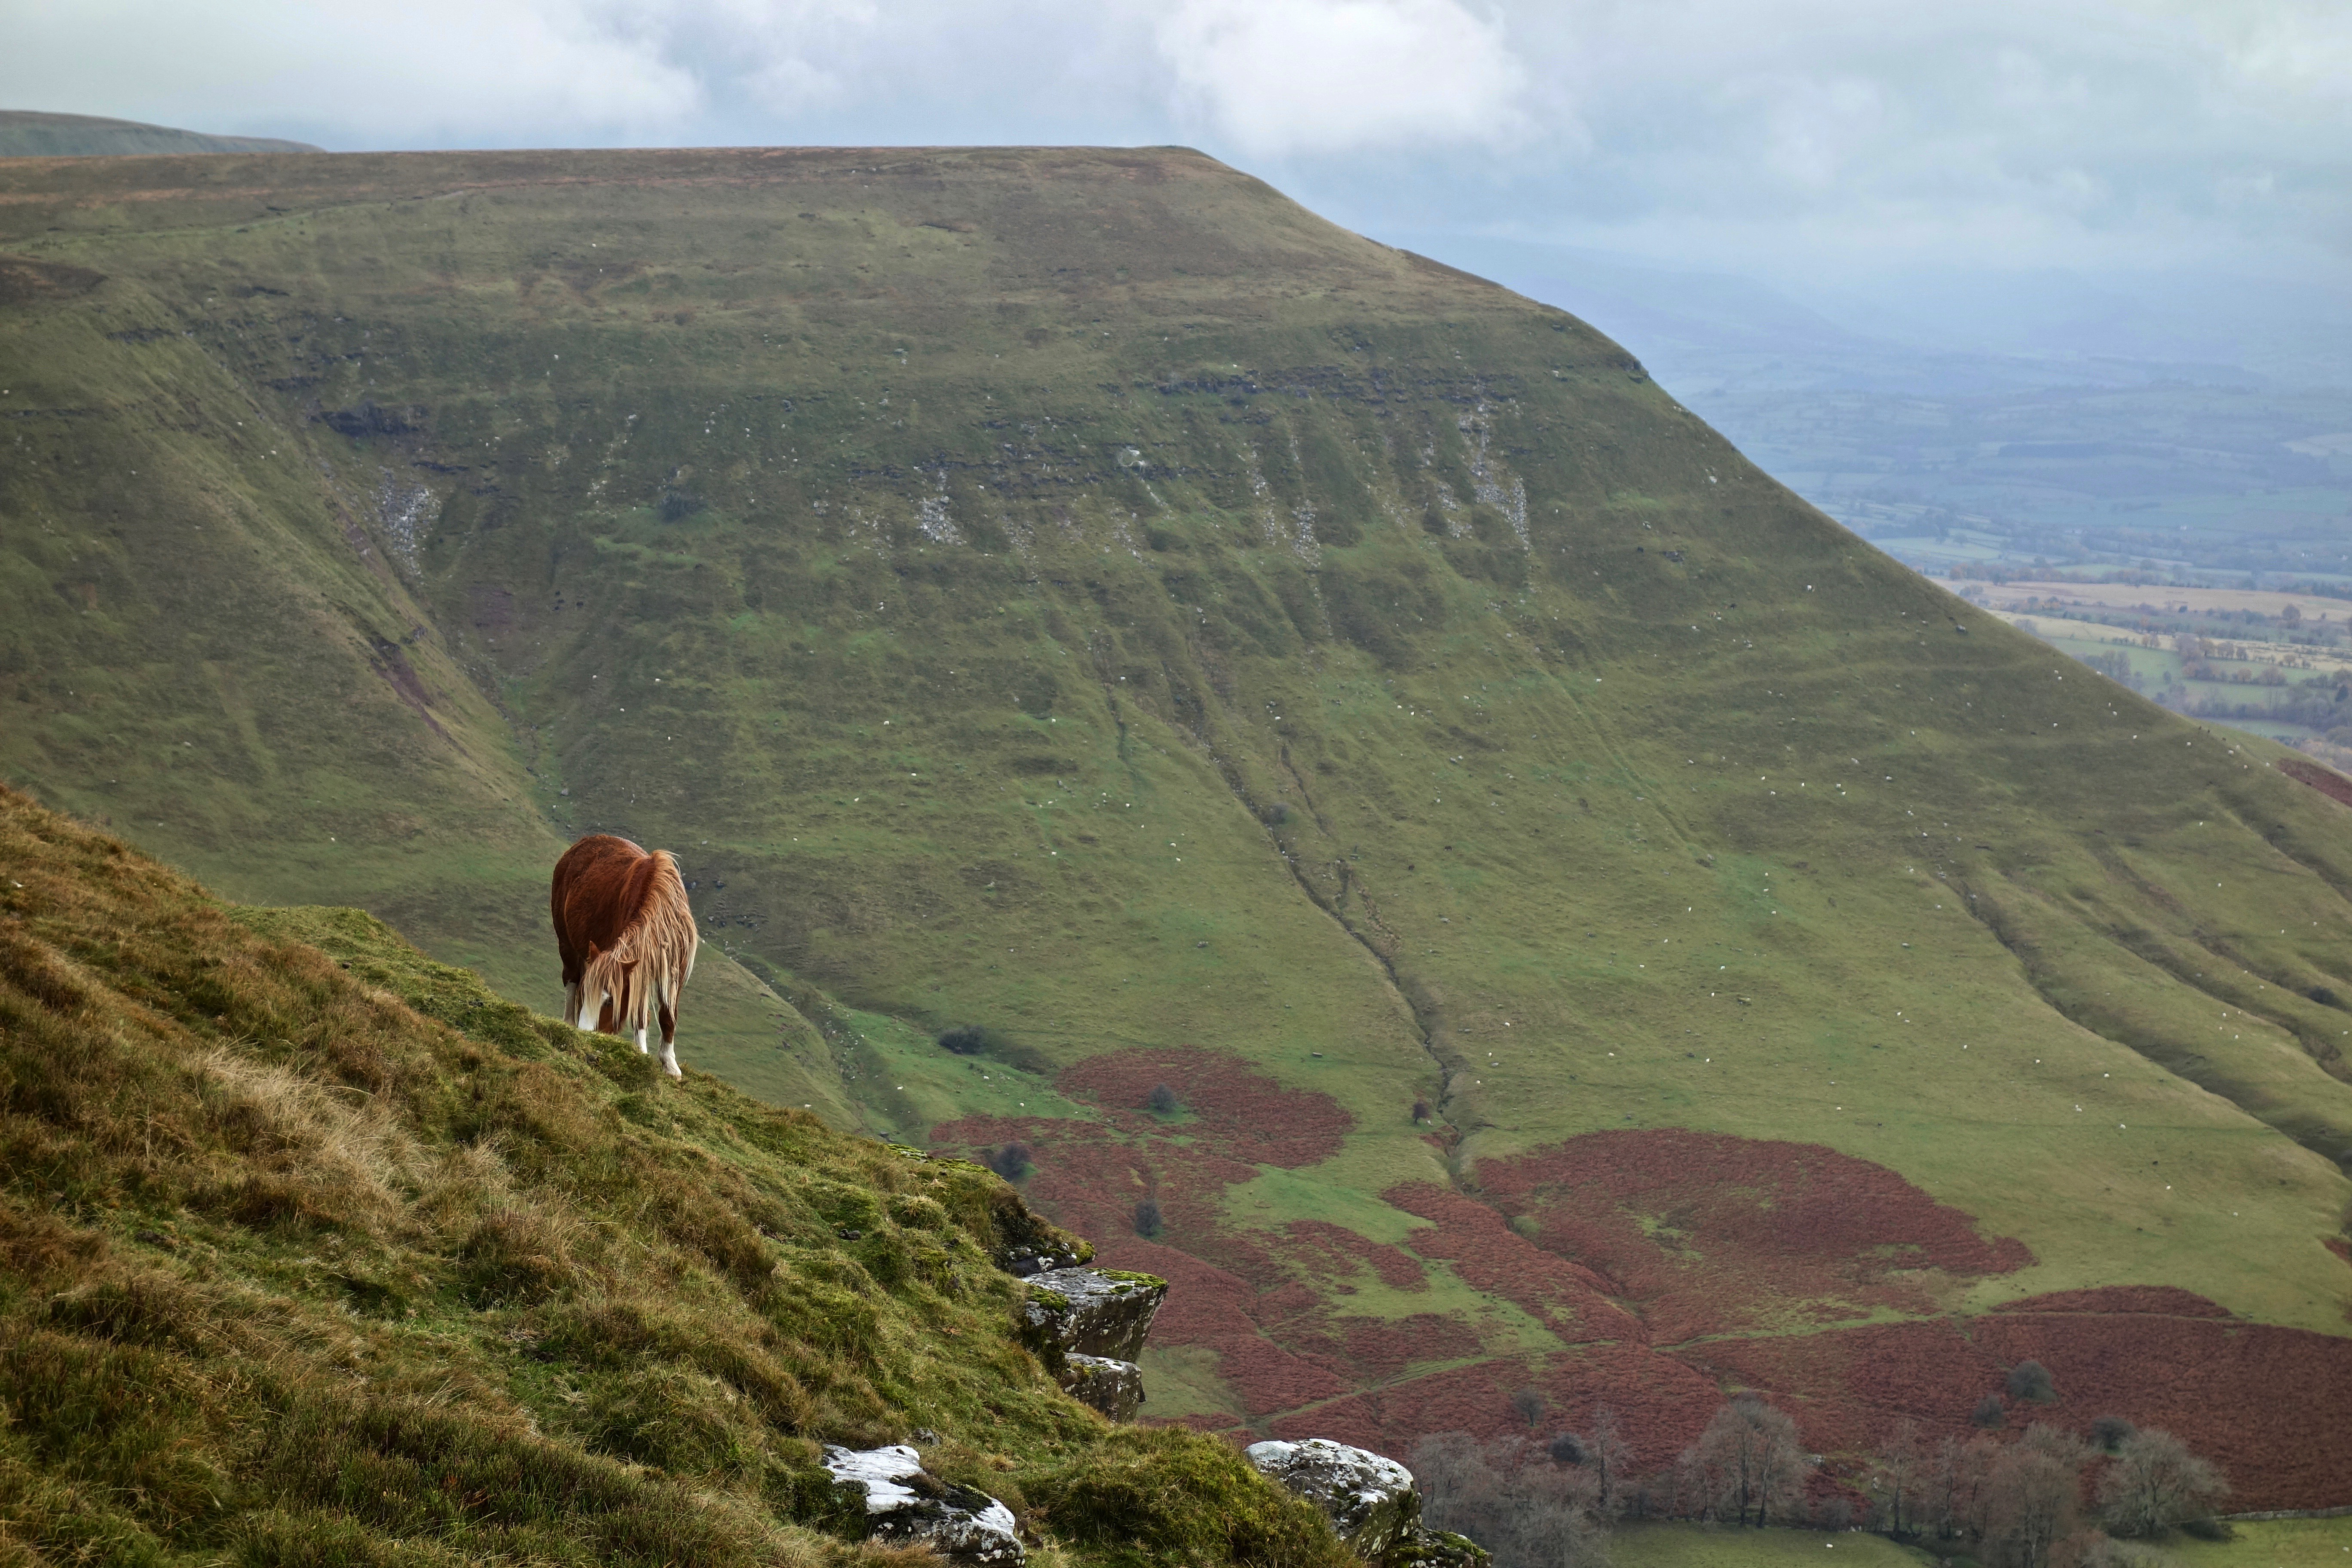
After years of buying, trying and refining I have pretty much found clothing and kit that suits me, my needs and the environment I’m likely to walk in. I prefer to do my walking in fair weather because I find it more enjoyable but am equally prepared for the worst weather the UK can dispense when alone on the top of a hill.


Over the years my pack has got lighter and my gear more minimal. That said, I have gear that is heavier that does a really good job when it’s needed. For the average mixed UK day outside of real Summer heat or the coldest Winter days, my kit stays much the same with options depending where I am walking and the weather on the day. I run quite hot and seldom have cold fingers or feet. I am 1.8m in height and weigh 95 kg with a 36″ waist (most of the time) and these choices reflect my body type. I look for discontinued or second hand stock. I think this a great way of buying tried and tested kit at bargain prices without always buying new. The following is a ramble about my preferred clothing and gear for day walks. It’s not a kit list and I appreciate that some of my stuff is no longer available but similar products exist which would equally fulfil the role. To quote Julie Andrews: “these are a few of my favourite things”.
Socks
Darn Tough Mid-Calf Light Cushion merino socks
These are excellent and I wear these on colder days well into Winter. Really well made, tough and they don’t shrink (47% Nylon 46% Merino Wool 7% Lycra mix). The cushion is perfect for a little more comfort. I also have some Teko socks which seem pretty good with good eco-credentials.
Base layers
Berghaus 2.0 Long Sleeve Zip T-Shirt
Good value, comfortable as an XL, light at 195g, stretchy and adaptable the Zip T has to be the one piece of kit I wear most including the Summer. The neck is comfortably high for chilly days but also shields from the Sun and the wicking is excellent. Argentium also stops it getting stinky. sleeves can be pulled up and the zip is long enough to properly vent around the neck. I also have the thermal version of the Zip T – which is slightly thicker, has a micro waffle inner, thumb loops and deeper zip as well as a small zip chest pocket. It’s an old model but is also a fabulous base layer and they still make a similar product. I also have a couple of old Lowe Alpine Dryflo base layers which are a tad warmer than the Berghaus.
Montane Power Up Hoodie mountain mid-layer
If it’s colder still I’ll wear this as a base layer. At 380g it adds real jacket warmth with a waffle inner and the hood is excellent as another cover for a thinning pate. It also makes for a good mid layer on days that aren’t too cold. It also has a chest pocket which will accommodate a phone. One of my favourite pieces of kit. Montane stuff comes up small on me so I wear an XXL. In combination with a wind shirt it’s really effective.
Rab Dryflo 120 Briefs
54% polyester, 46% Cocona, these are great but I believe discontinued. Wicking and quick drying as all base layers should be, they are very comfortable with enough warmth for all but the coldest days and feature Polygiene for less stink. I prefer these to Merino.
Mid layer
I used to wear Polartec micro fleece all the time as my midlayer and still do but find it isn’t always great at dissipating moisture and not windproof in the slightest. I often find it’s the combination of base and mid layer that I wear most of the time, supplemented by either a wind shirt or hardshell dependent on the conditions. Most recently I’ve been wearing the:
Arc’teryx Atom SL Hoody
This is a lovely hoody and fits perfectly as XL. Light at 260g and highly packable, it’s a lightly insulated jacket with Coreloft front and back with air permeable panels that run from the inside of the wrist to the waist, this really is effective at keeping the torso warm while venting well, while having a DWR finish where it’s needed. The neck gaps a little and isn’t adjustable but I usually wear a buff so if anything the design allows for this. The hood has no insulation and features a brim and simple adjustability but is a bit flappy. Arc’teryx products are beautifully made and built to last and this has been a revelation. I love it and wear it as my fleece meets windshirt/light rain shell. It’s also somewhat stretchy and not baggy so I can happily slide a second wind/waterproof layer or additional warm layer on top.
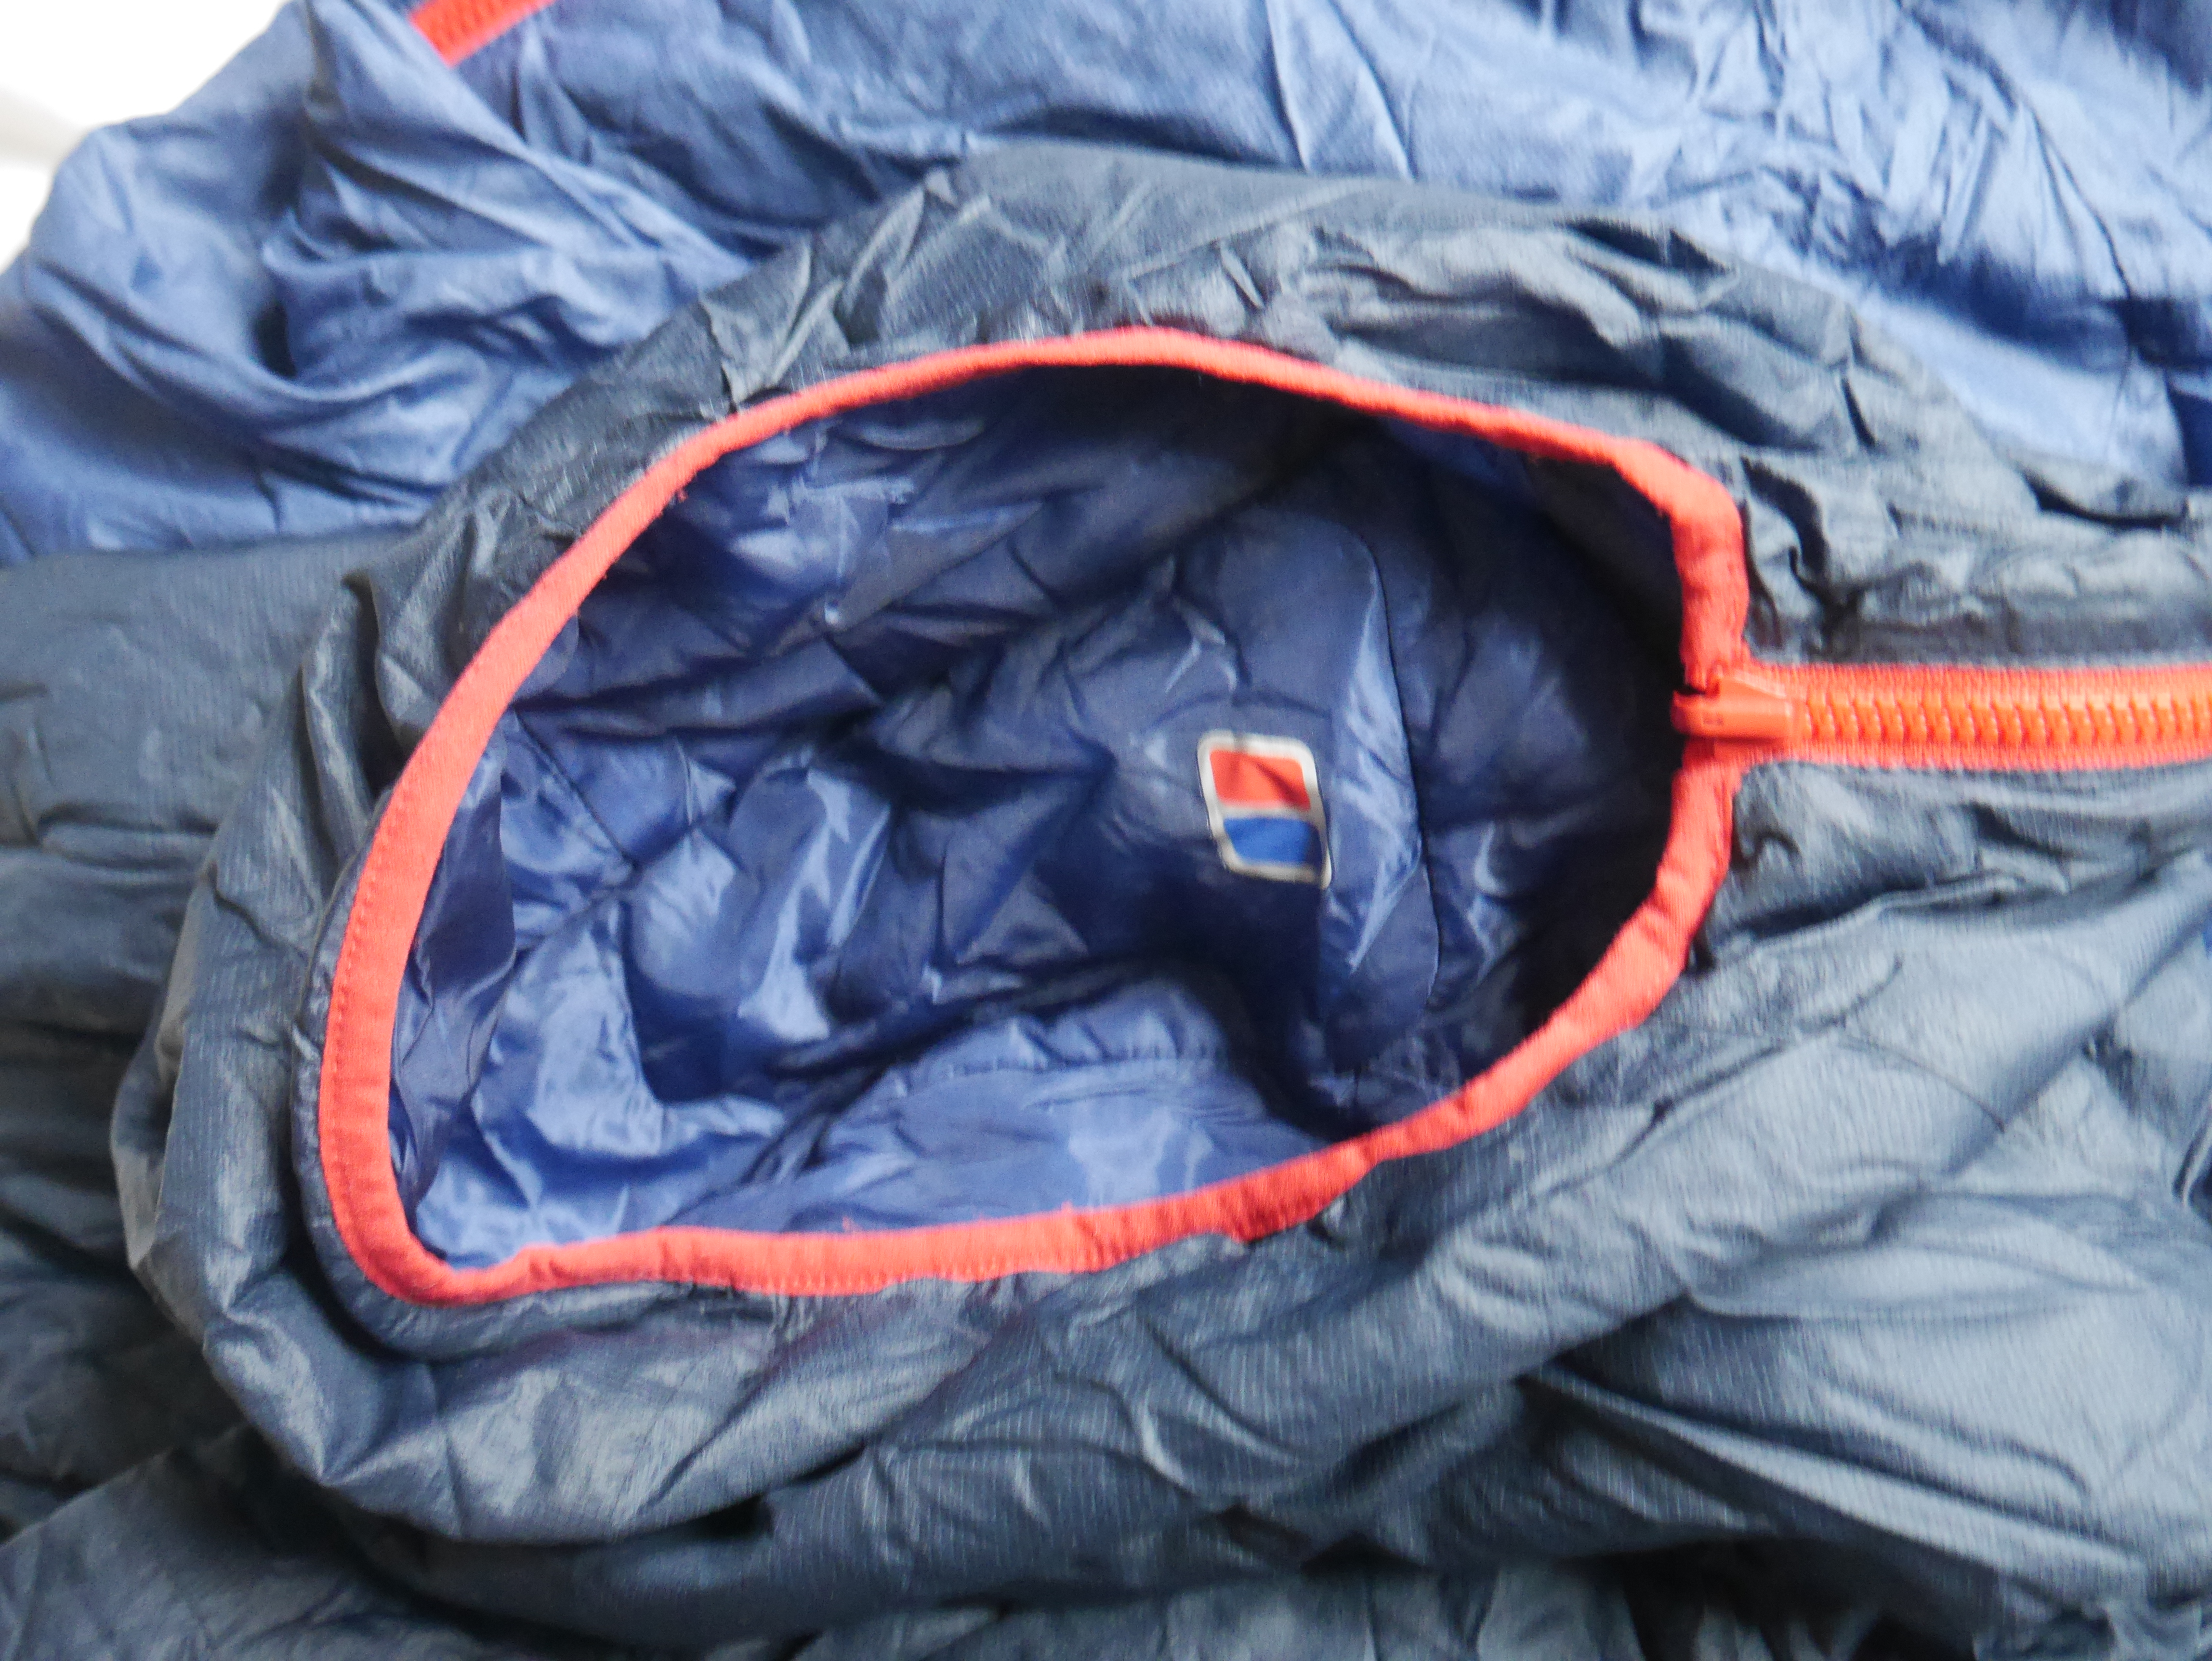
Marmot Alpha 60 Jacket/hoody
When it’s colder I have been wearing the Alpha jacket (pics below). It has Polartec Alpha Direct Insulation 60g/sqm throughout designed with both warmth and wicking in mind. And it is really warm on its own as the Pertex outer does a decent job in moderate wind and showers. The hood is a a useful scuba design and the three pockets help venting, though Marmot have adopted the crazed ‘let’s put the pockets precisely where the backpack belt sits’ system. The hem isn’t adjustable but as it is cinched at the waist by the backpack it’s not an issue. The micro zip is meagre as compared to the Atom SL but it does provide lovely warmth at just 280g for the XL.

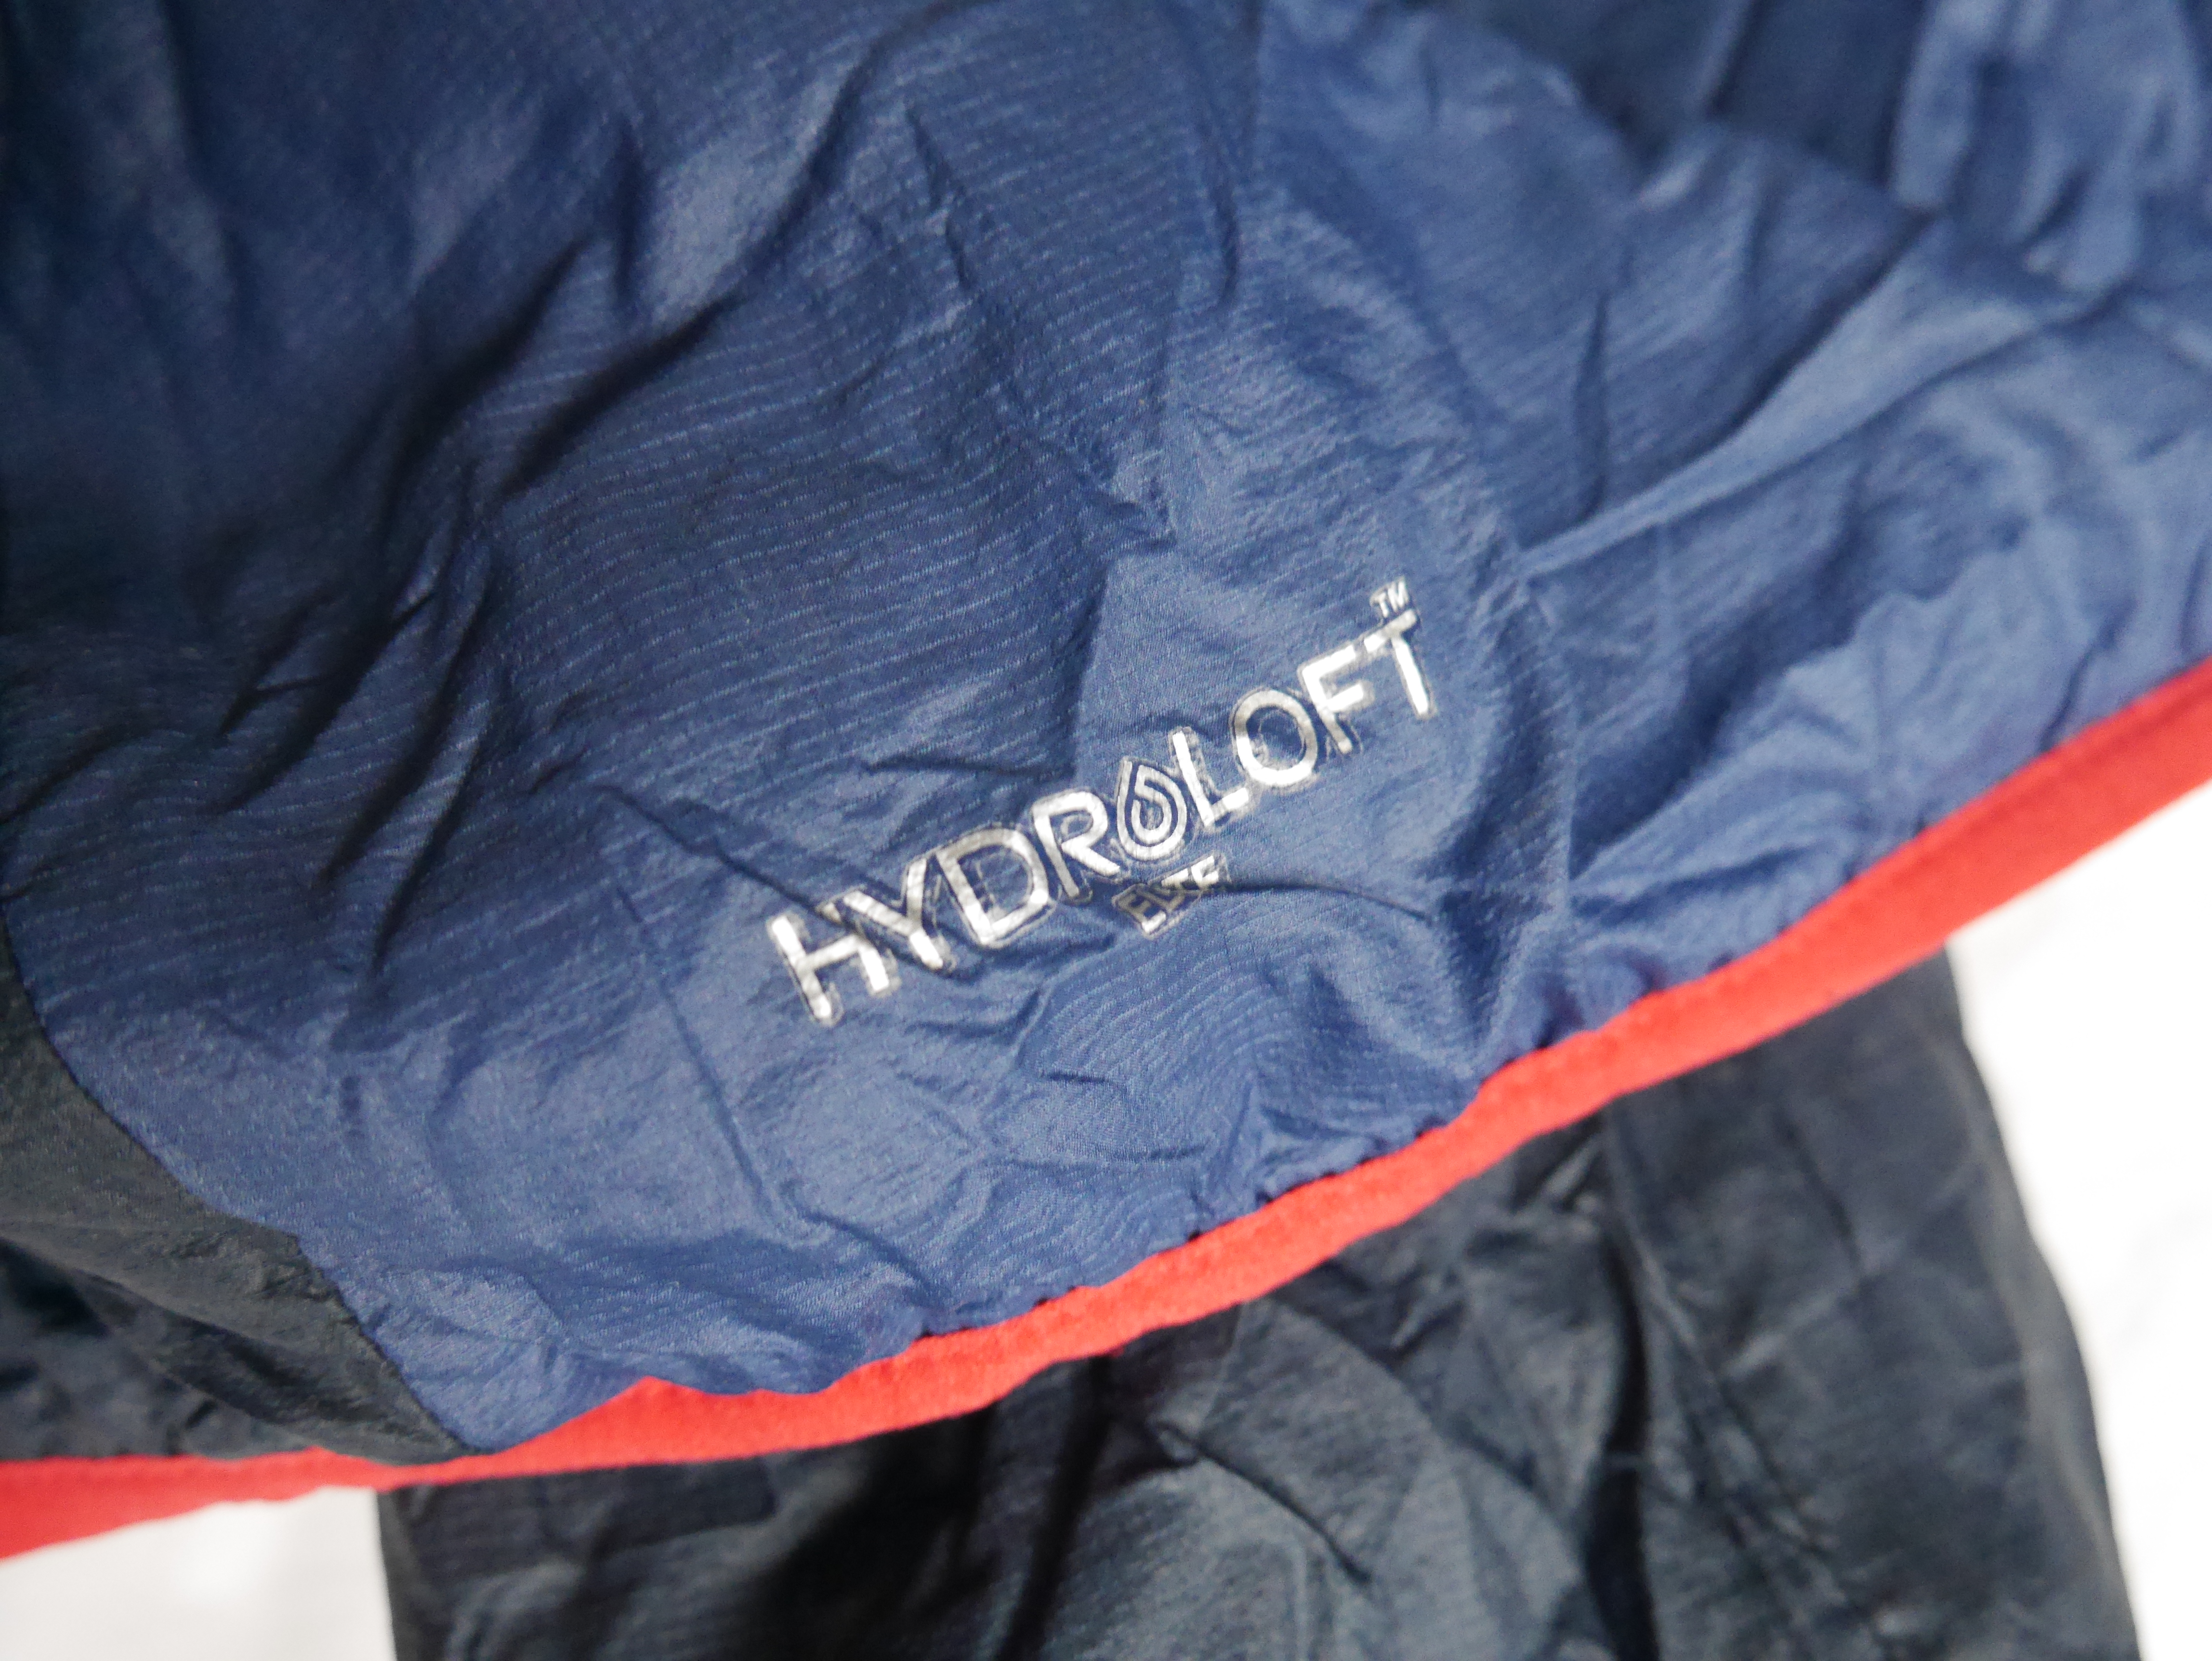
Berghaus VaporLight Hydroloft Reversible Hoody
This is a versatile lightweight alternative to the Marmot Alpha 60. Worn one way it retains warm and cuts out a fair amount of wind and features pockets. Reverse it and it is much more breathable. It packs small and weighs 225g. The hood is a decent fit (pics below) and the jacket is sheer enough to go over a layer or be worn under a waterproof.
Wind shirt
Montane Lite-Speed Jacket
At 175g for the latest version it doesn’t get much better. Packs down well yet provides fantastic shelter from strong wind. Probably the piece I have used for the longest time without ever thinking of replacing it. A classic worthy of its peerless reputation, as recommended by Chris Townsend, goes everywhere.
Trousers
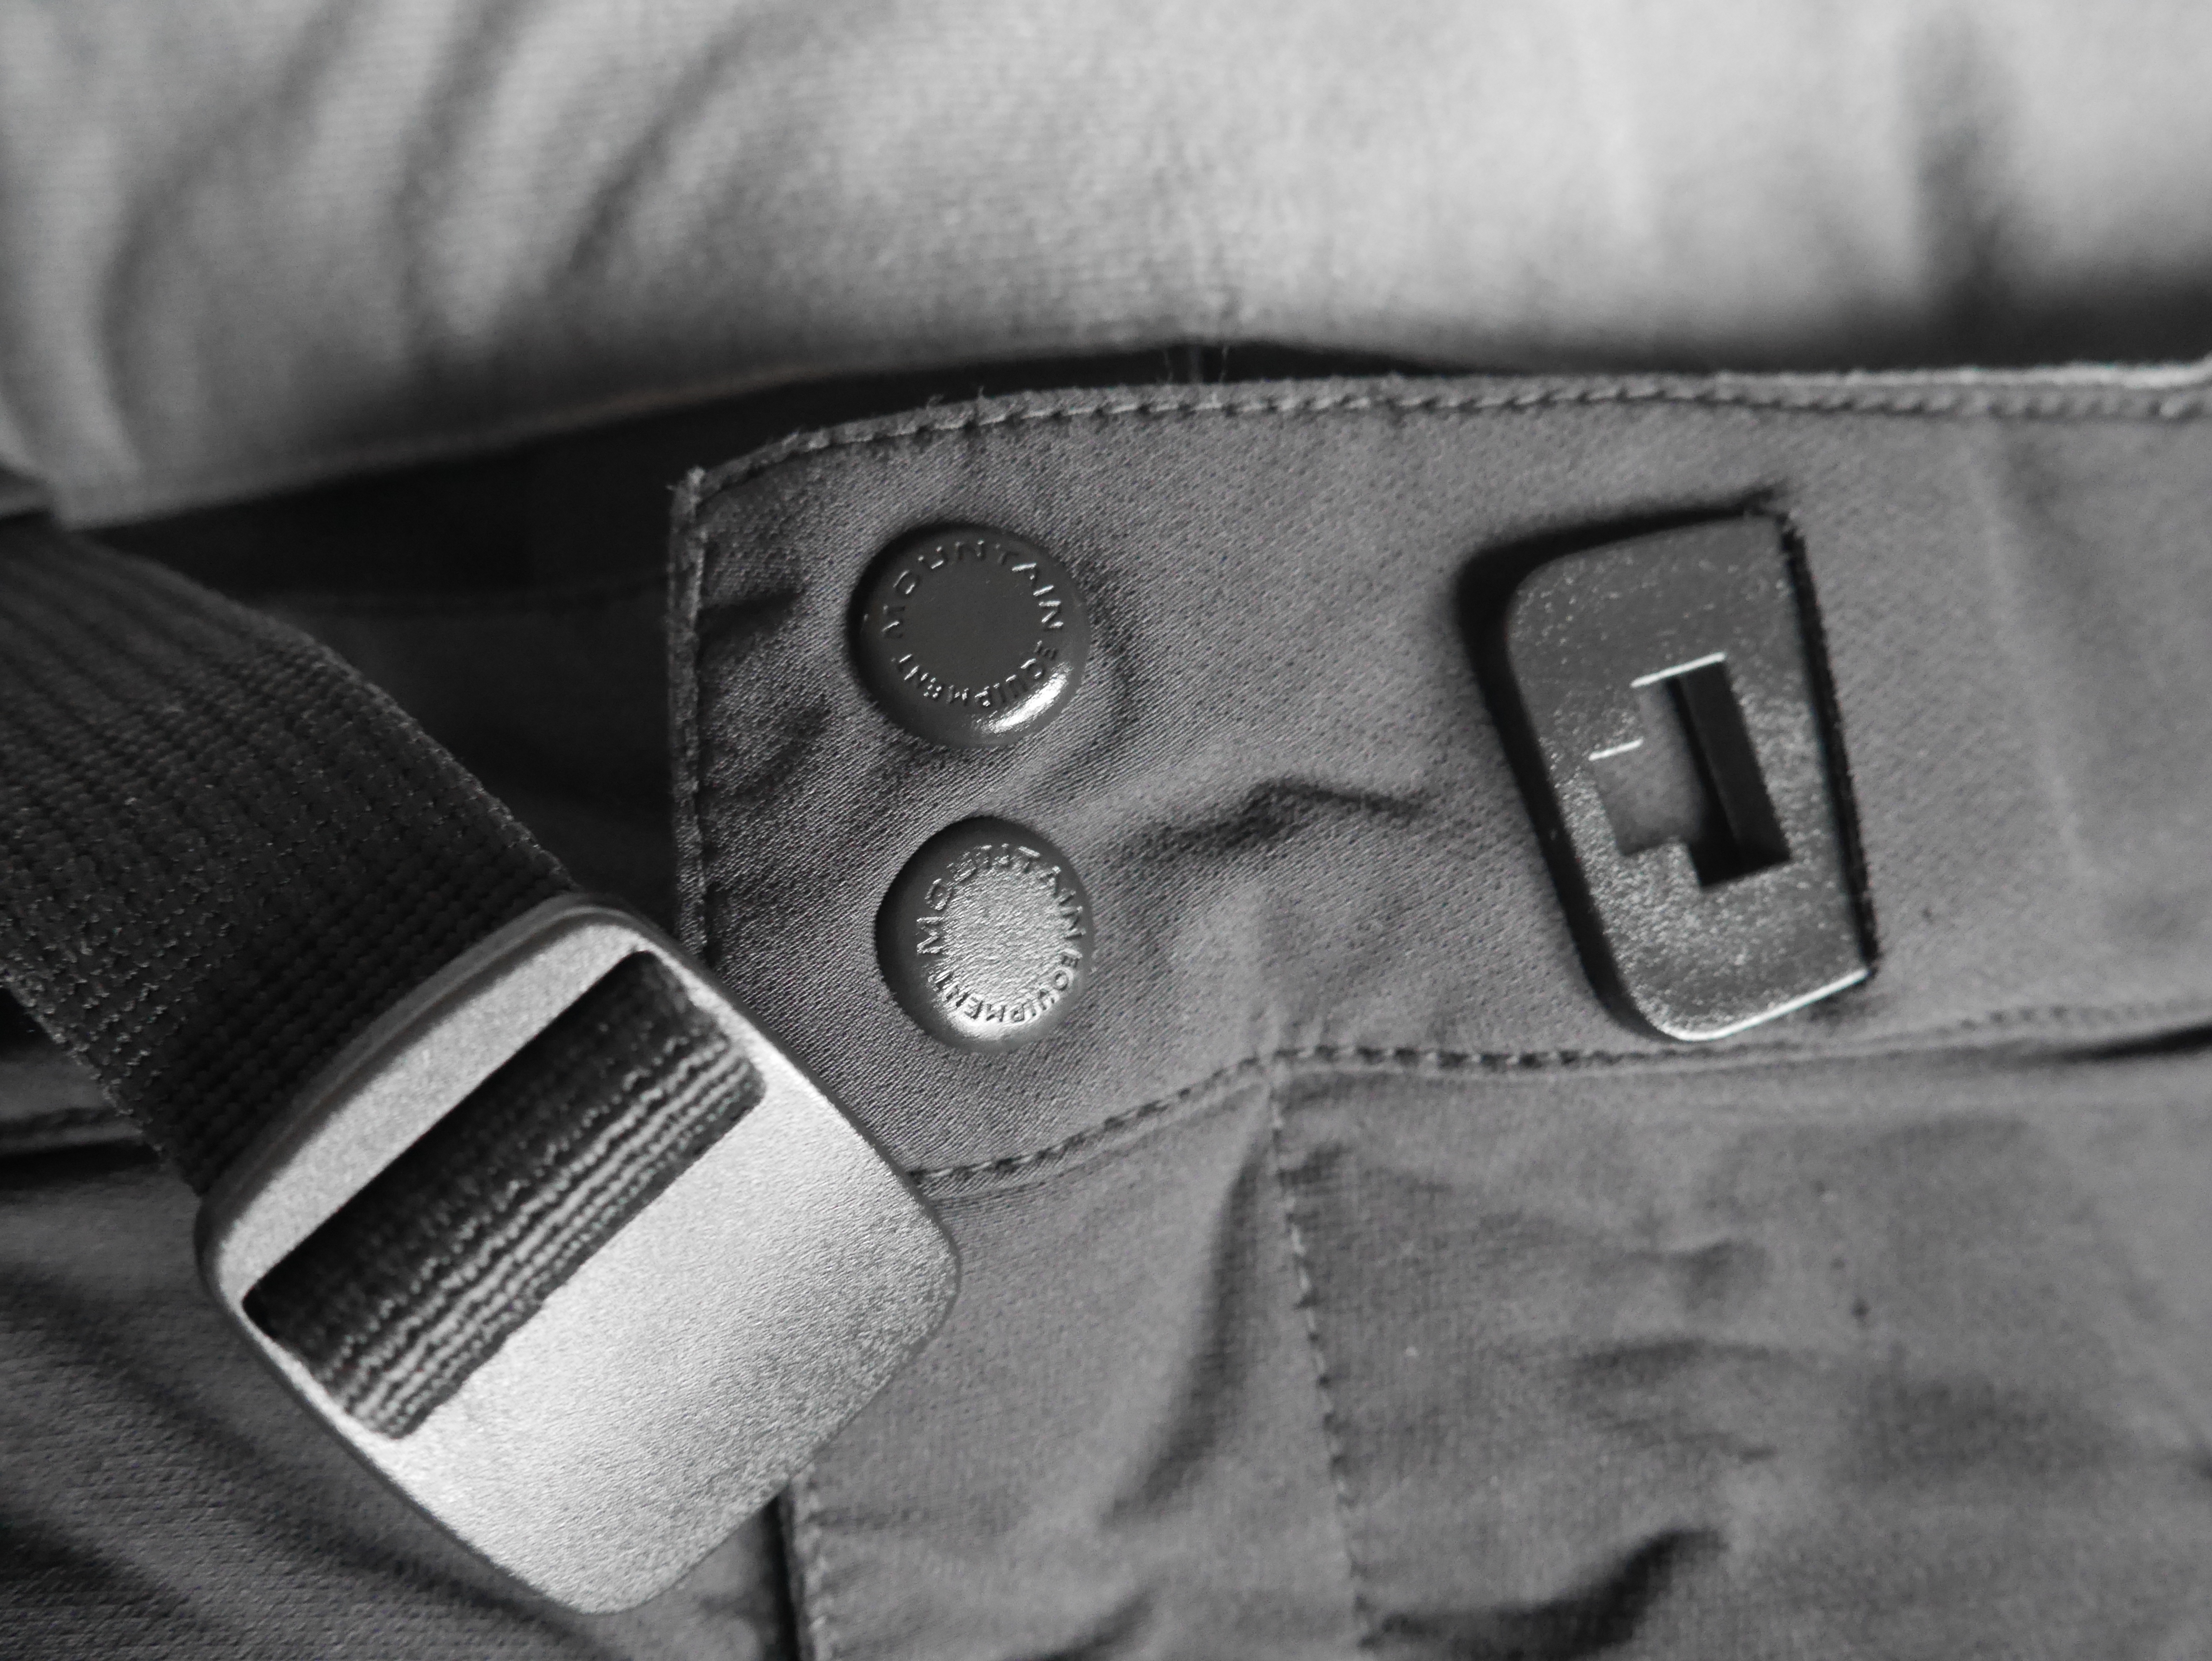
Mountain Equipment Ibex Mountain Pant
I am so glad I came across these (pics below). My first pair were bought second hand on Ebay, I spent £30 and found a perfect home for my legs. They just do it all so well. The fit is good for me (36″ Reg), the length nearly perfect, the no loop belt and waist fit is really good and the pockets and vent pockets all add up to the best pants for colder weather outings. The fabric is tough but stretchy and resists the wind well. Zipped gusseted ankles provide options on comfort depending on footwear and a slim fit which is pretty much ideal being more athletic in the latest iteration. Probably my favourite piece of clothing. I buy a pair whenever they are stupidly cheap in the sales.

Wet weather gear: Trousers
I’m not a fan of over trousers but have had to use them this past few months as 2019 has been a wet Autumn and winter. As technology has changes with ever more breathable, stretch waterproof materials I’m hopeful I’ll find a pair that breathe well without the sack of potatoes quality inherent in most. Otherwise it’s a kilt for me. I have two pairs of overtrousers that have served pretty well.
Rab Kinetix Pertex Shield+
At 180g these are the over trousers that live in my backpack. An old model with 2.5L and a reasonably slim fit, they do a pretty good job of keeping the worst of the weather out. Rab’s latest offering looks even better being stretchy but as I use these only occasionally I’ll stick with these. My second pair is a Montane ‘Event’ trouser (possibly the ‘Venture’ model) which comes up larger/baggier but breathes better. More robust, I use these as a second string if the weather is looking really rough. I like Event waterproofs. I think they breathe better than older Gore-tex fabrics (though I can’t comment on more recent developments).
Wet weather gear: Jackets
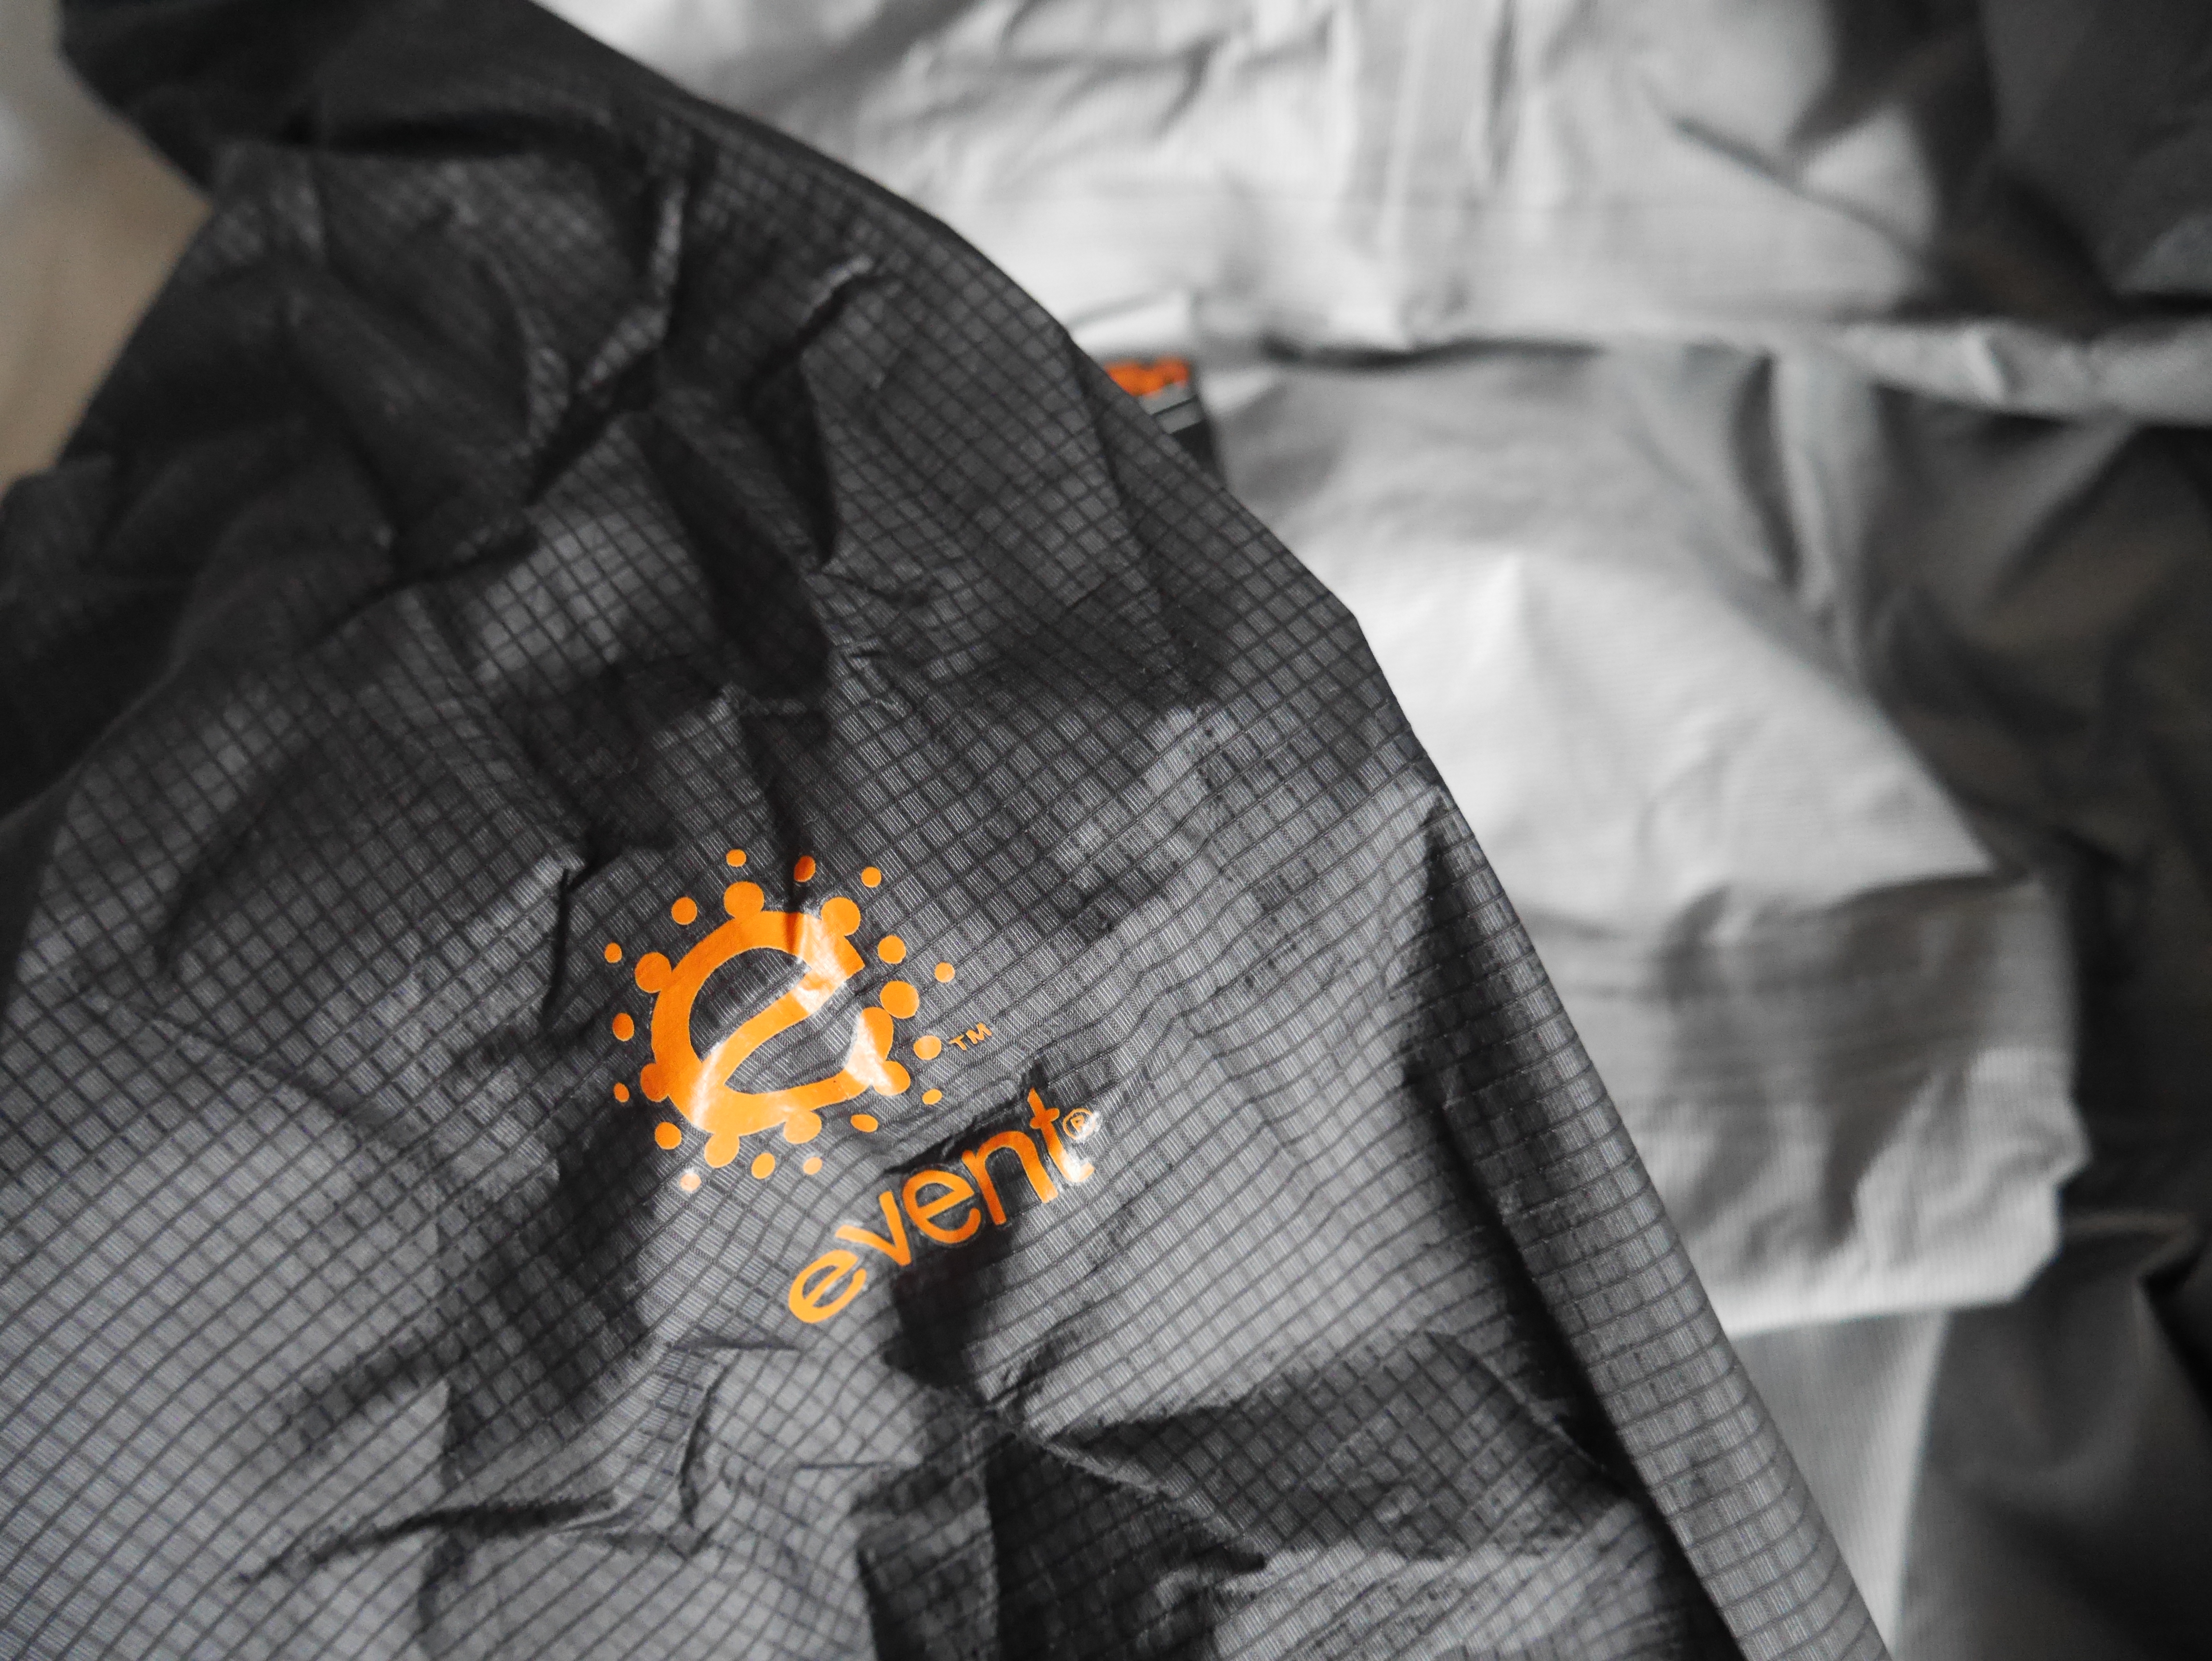
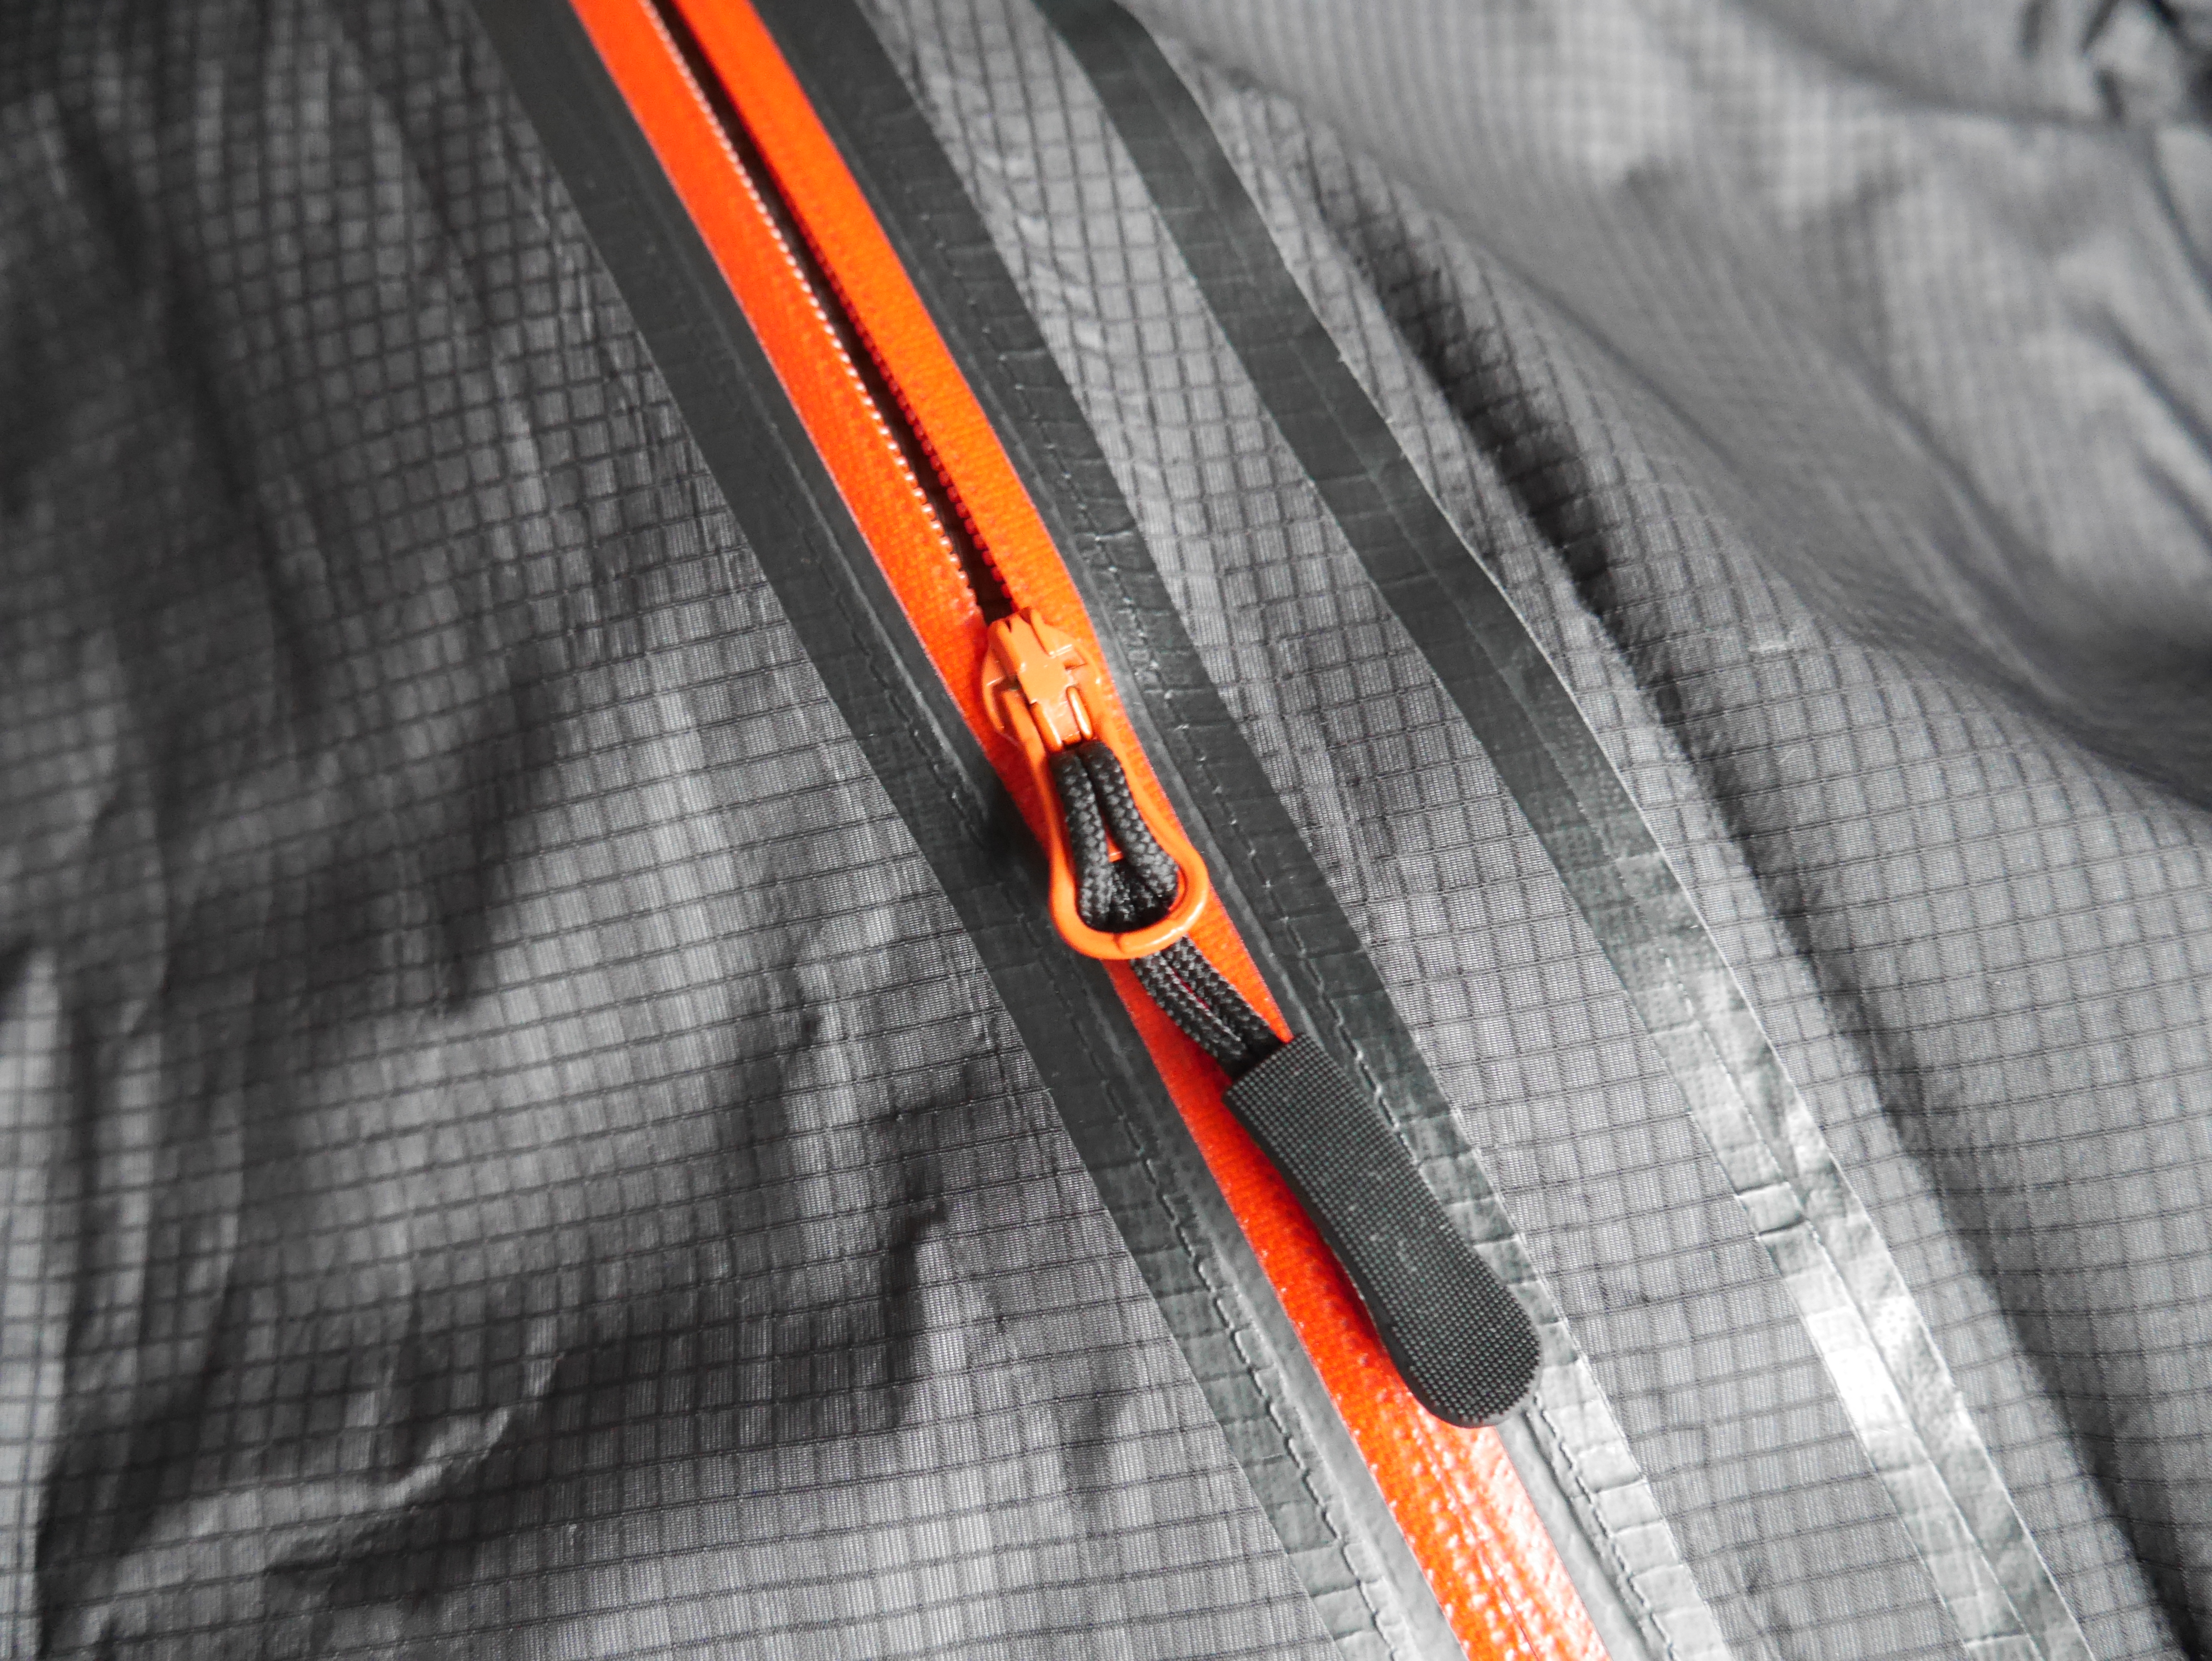
The holy grail of staying dry! I have a selection of waterproofs that I take for a day out. I originally bought a Mountain Hardwear waterproof that was just awful as it barely breathed at all. I then followed this up with a cheaper ‘Gore-tex’ jacket from Tog 24 that was equally poor for similar and other reasons. These have now gone and I have a hardcore of worthy jackets which I rely on. I like eVent, I think it breathes better than other offerings and is the better system. It requires a little more care but I look after my gear and don’t stress it if I can avoid doing so.
OMM Cypher eVent Jacket (2012)
At 300g for a 3L jacket, this has to be one of the best lightweight jackets I have owned (pics below). I have read reviews of it failing but so far this has proved to be an excellent waterproof. It has 2 large waterproof zips and the length is ideal – covering the backside. The hood is great and it beads extremely well. Probably the most useful for the weight, it’s the one I keep in my pack.
Rab Bergen eVent jacket (2010)
At over 500g, the Bergen is a really tough waterproof and wholly reliable. You can still get these on Ebay for a decent price and being a tough 3L eVent are a good deal. The storm proof pockets and deep, wired, rigid hood are excellent. It’s been a haven in the past.
Montane Further Faster Neo Waterproof Jacket (2017)
This comes in at about 440g for the XL so falls between the other two jackets I use most. I would say it is reasonably robust and feasures Polartec 3L NeoShell which breathes brilliantly. Storm proof zippers and a great hood make it a good alternative to either of my other two jackets. Being Montane this is a little more athletic in fit which helps maximises convection of vapour to the outside while allowing for a layer of insulation beneath.
Warm layer
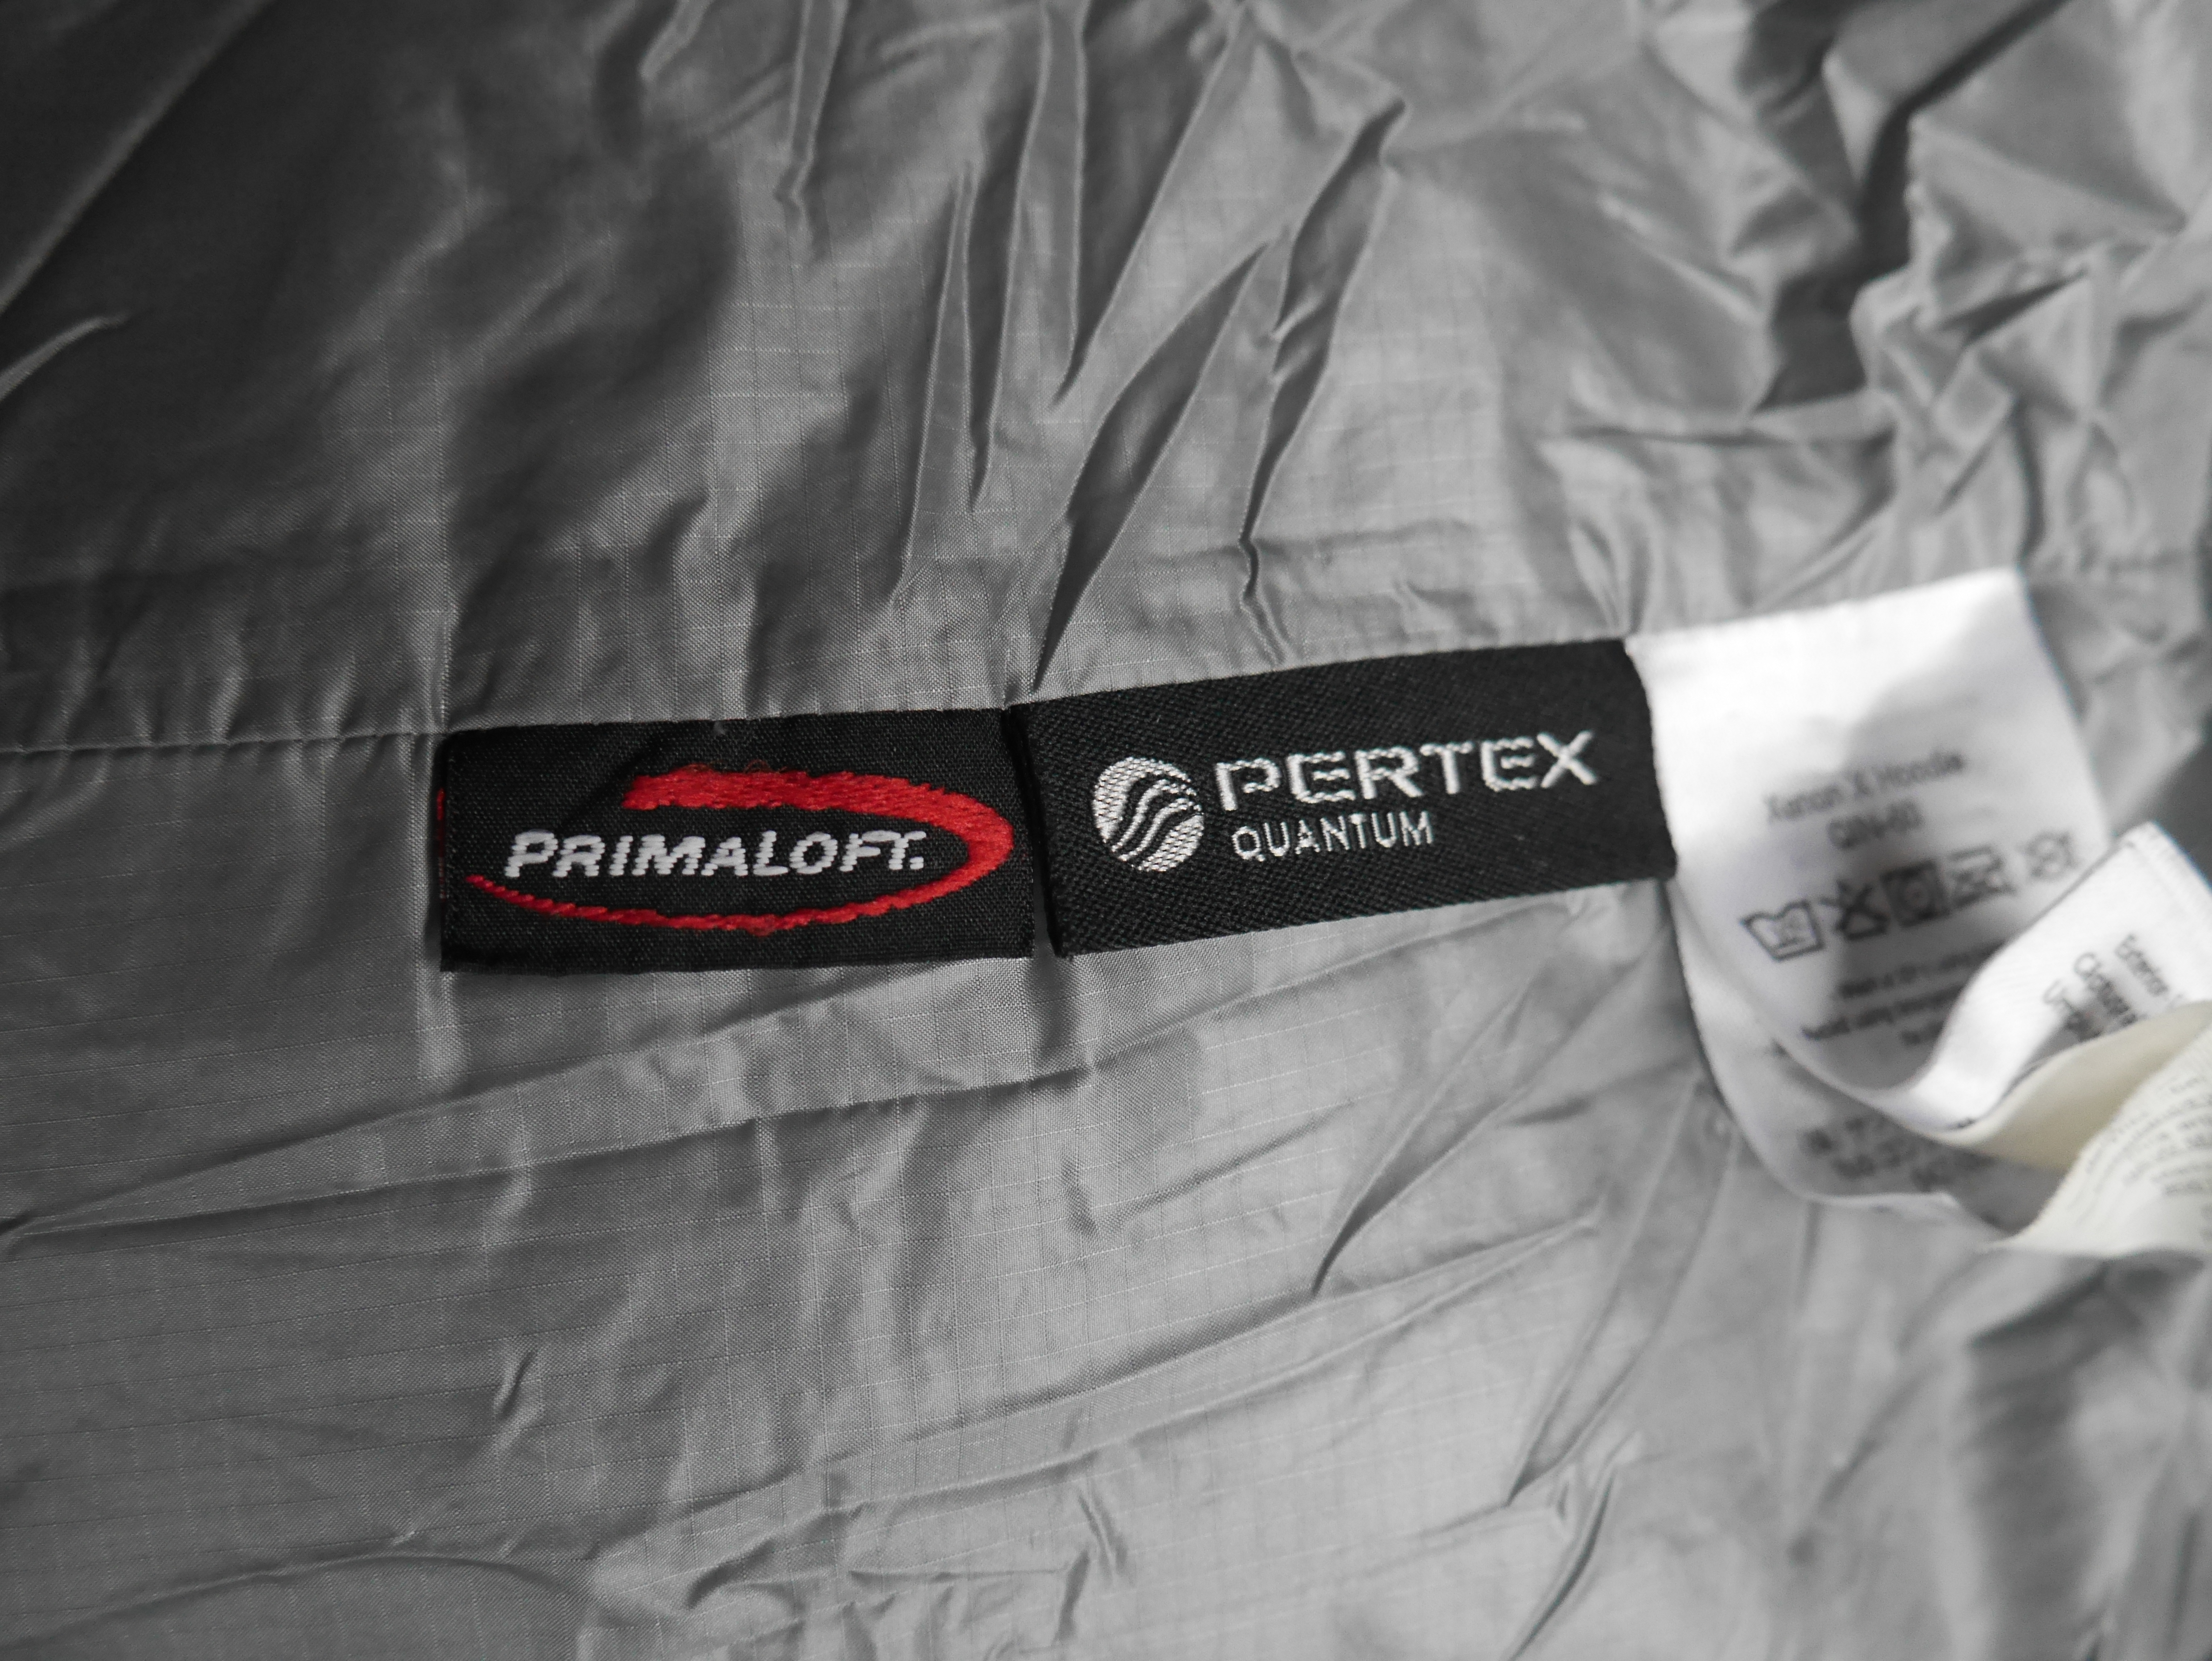
Rab Xenon Hoodie
A lovely warm layer which goes with me when it’s going to be really windy/cold on the hill. Insulated with Primaloft (in my older version) with a Pertex Quantum Shell it’s a cosy layer with DWR and good pockets for staying warm over a mid layer when having a break. The hood is capacious enough for a helmet and does the job. It packs almost as well as down and at 350g makes for a better weather resistant option.

Gloves
Rab Polartec Power Stretch Pro Gloves
These are excellent. Light, stretchy and reasonably warm, they cut out a great deal of wind while you don’t get too hot. A classic. I recently bought Mountain Hardwear’s version with the conductive finger-tips the ‘Stimulus‘ glove which also features a grippy pattern to the palm. They are both an excellent all rounder for not a lot of money.
On top of these I have bought some very light, cheap (£10) waterproof trekking over-mitts by Forclaz. Not breathable but perfect for keeping the hand dry and warmer in cool/cold weather while giving them some room. I don’t know how they will stand up to wear but they seem ideal for what I need outside of Winter. I also have some Outdoor Research combination insulated mitts with a matched over-mitt in eVent similar to these but would only ever expect to use these in very cold/wet weather though the overmitt was my previous waterproof over my Rab gloves.
Headwear
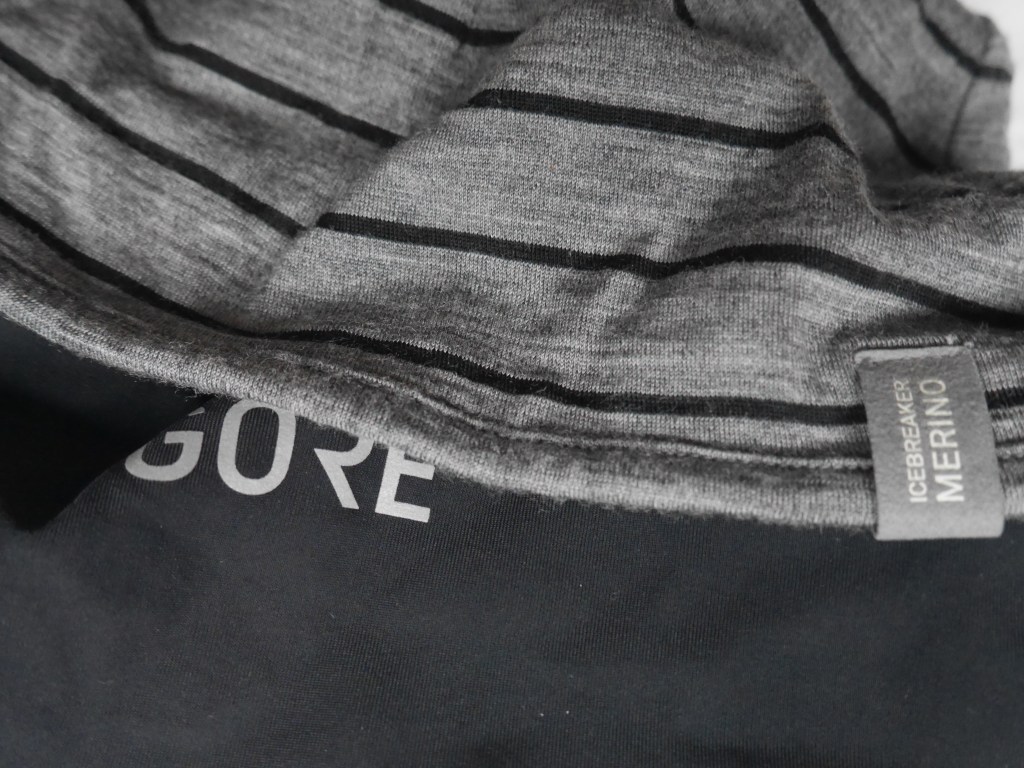
I wear a mix of merino beanies – thick and thin, light baseball caps if warm, a Gore sweat band and a combination two or three depending on the conditions. I wear a Buff most of the time. Merino in the colder months and a smaller polyester version when warmer. A really versatile item that can be used for warming and wicking around the neck or on the head.
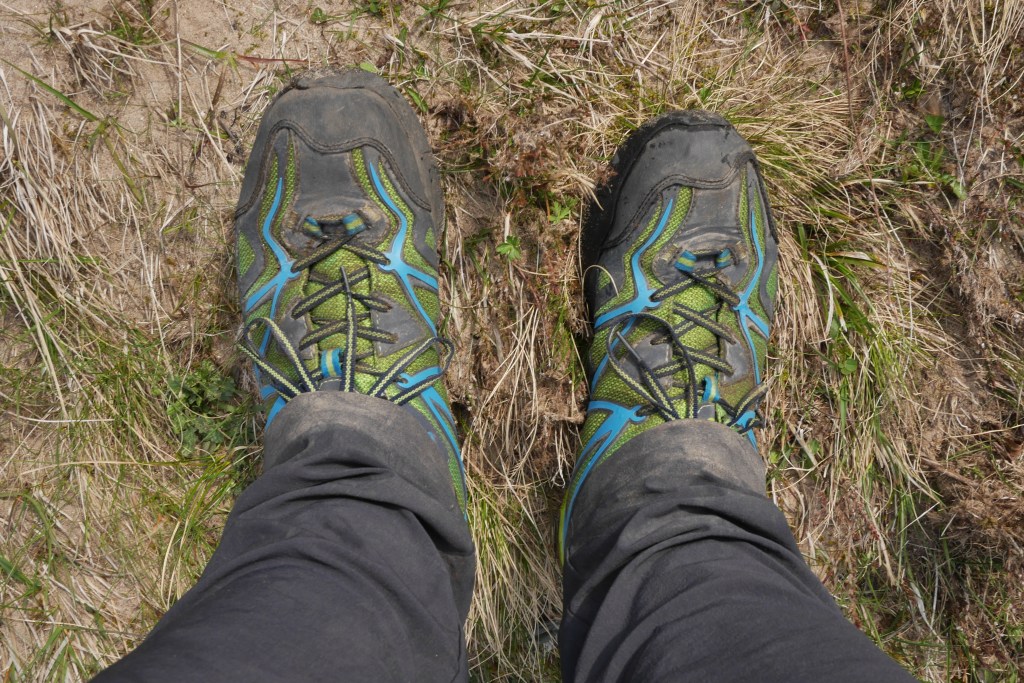
Footwear
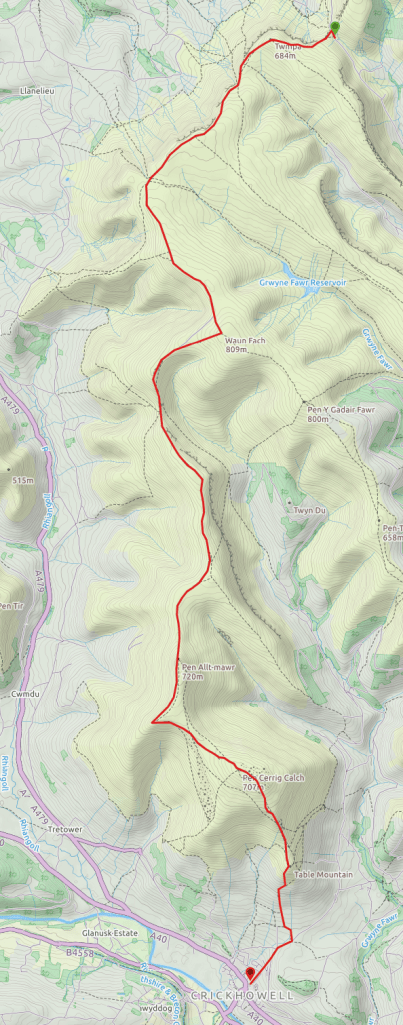
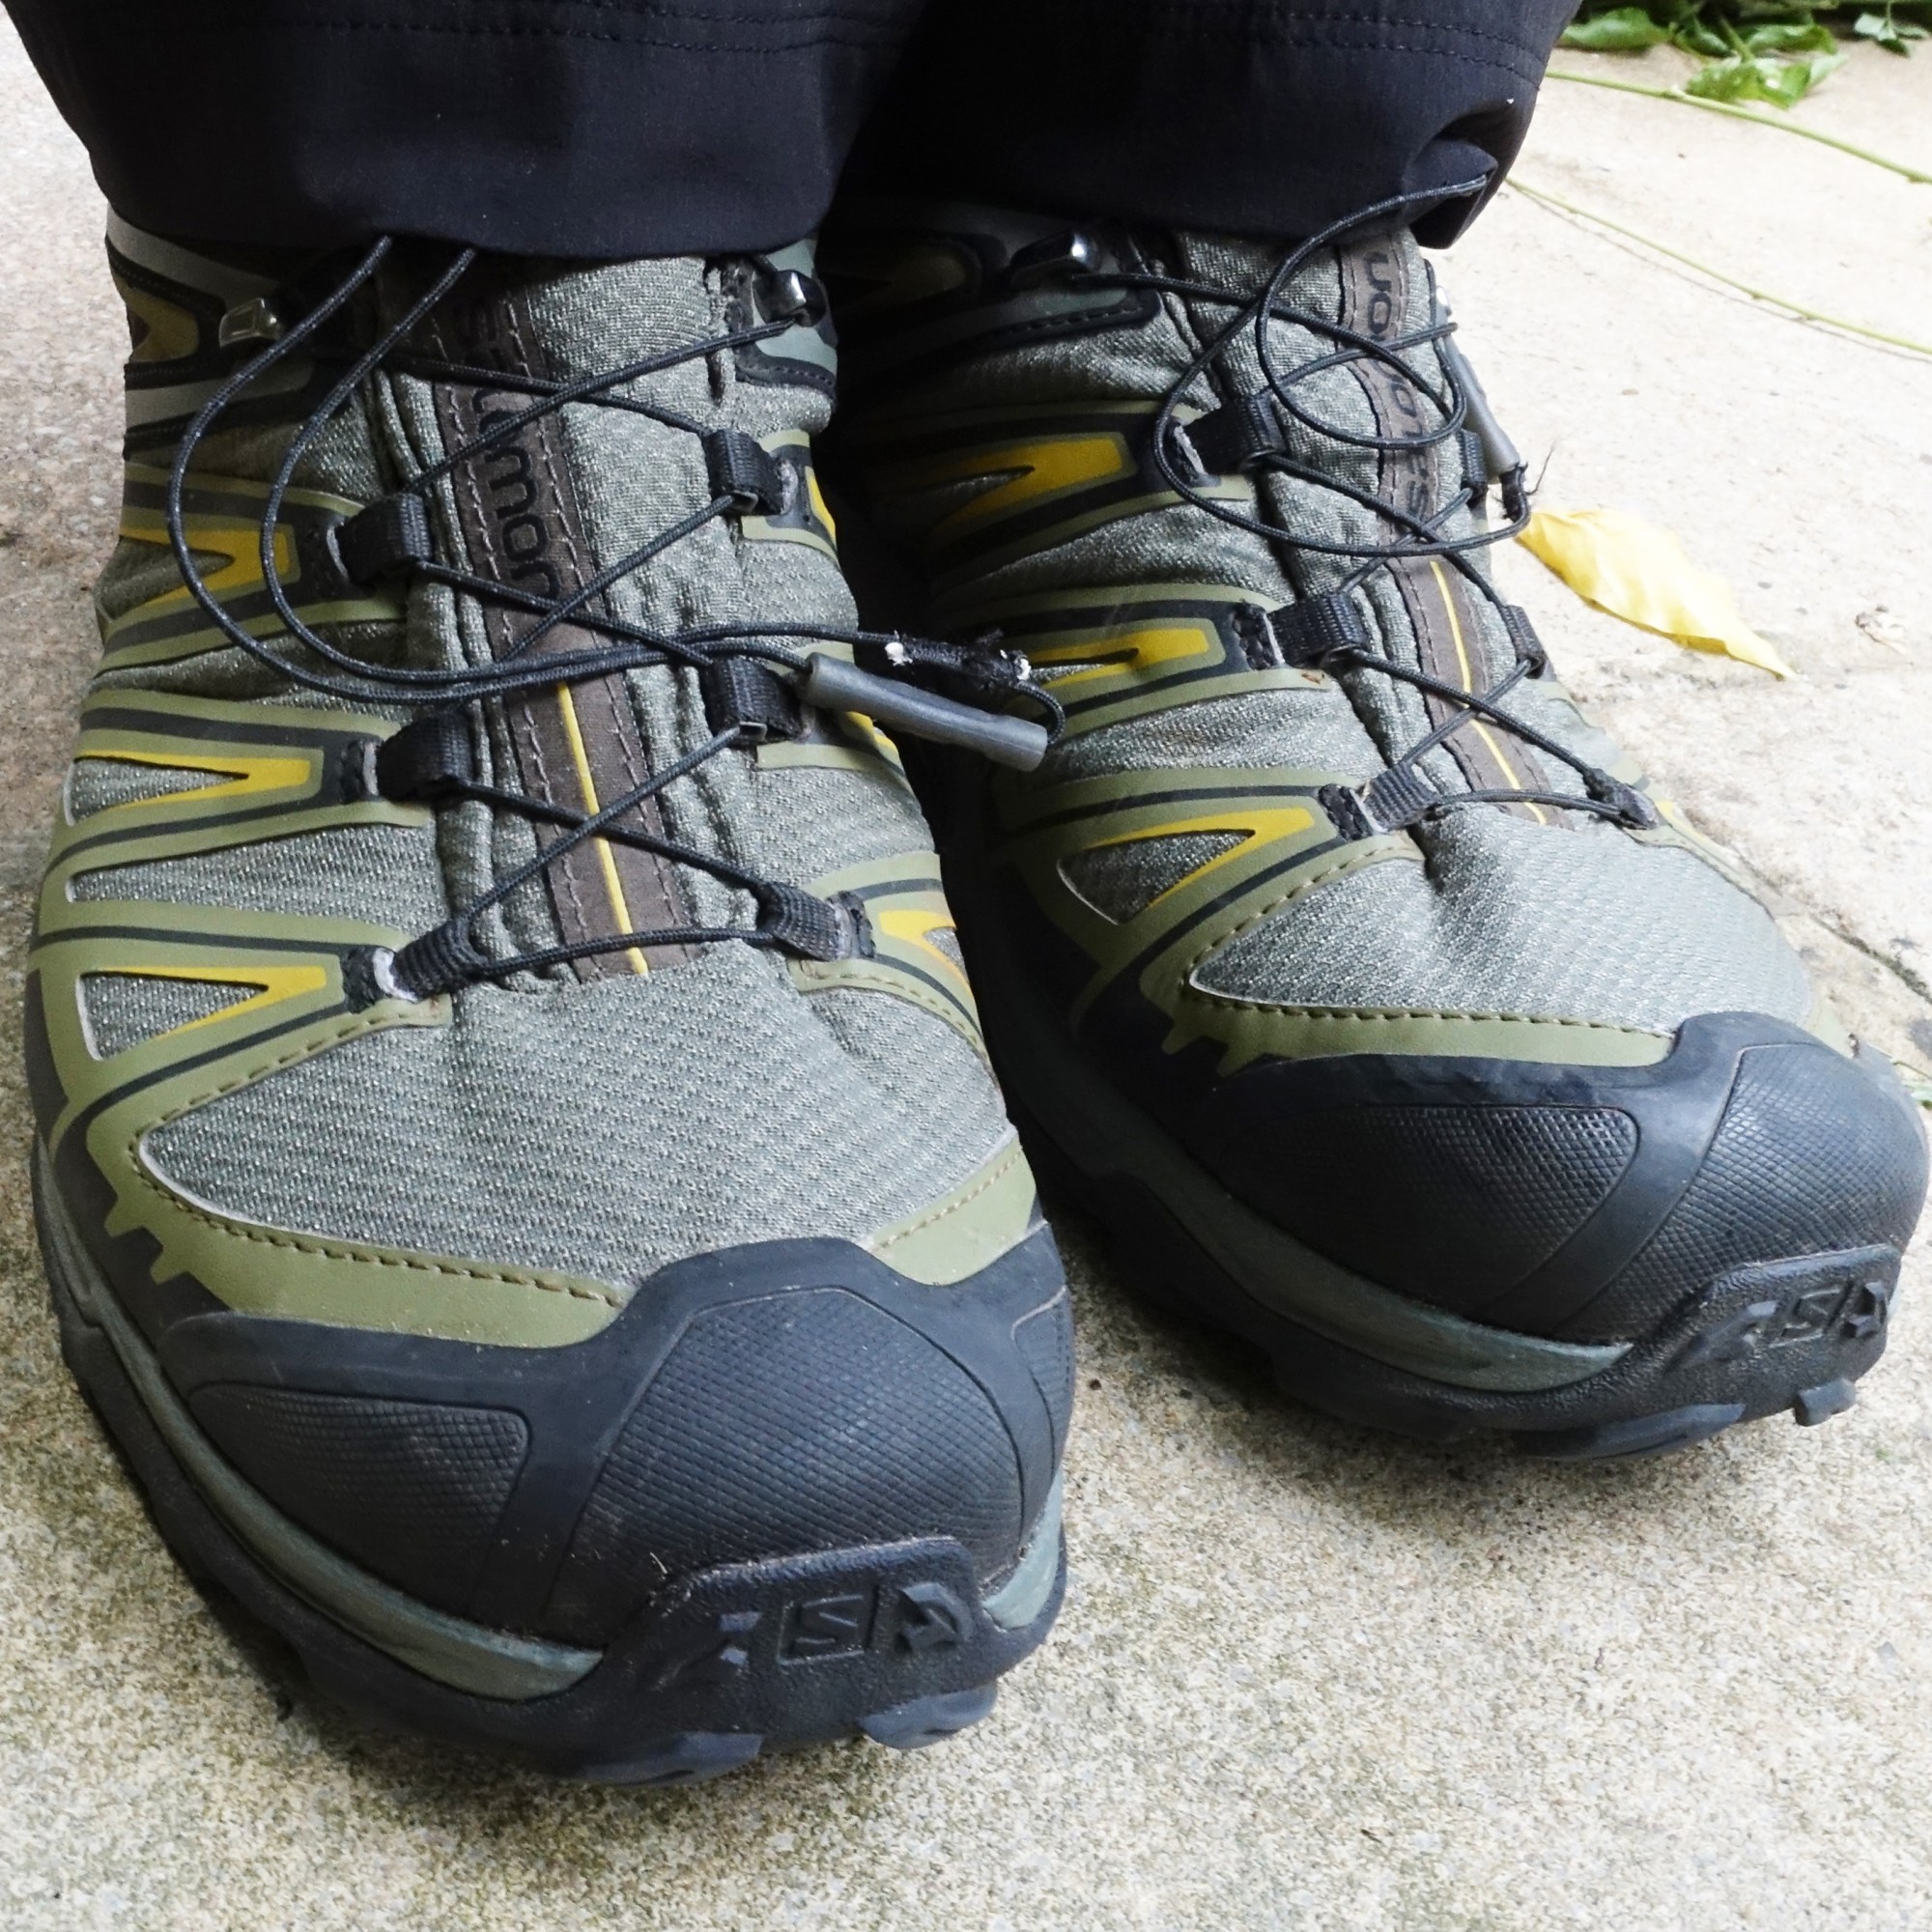
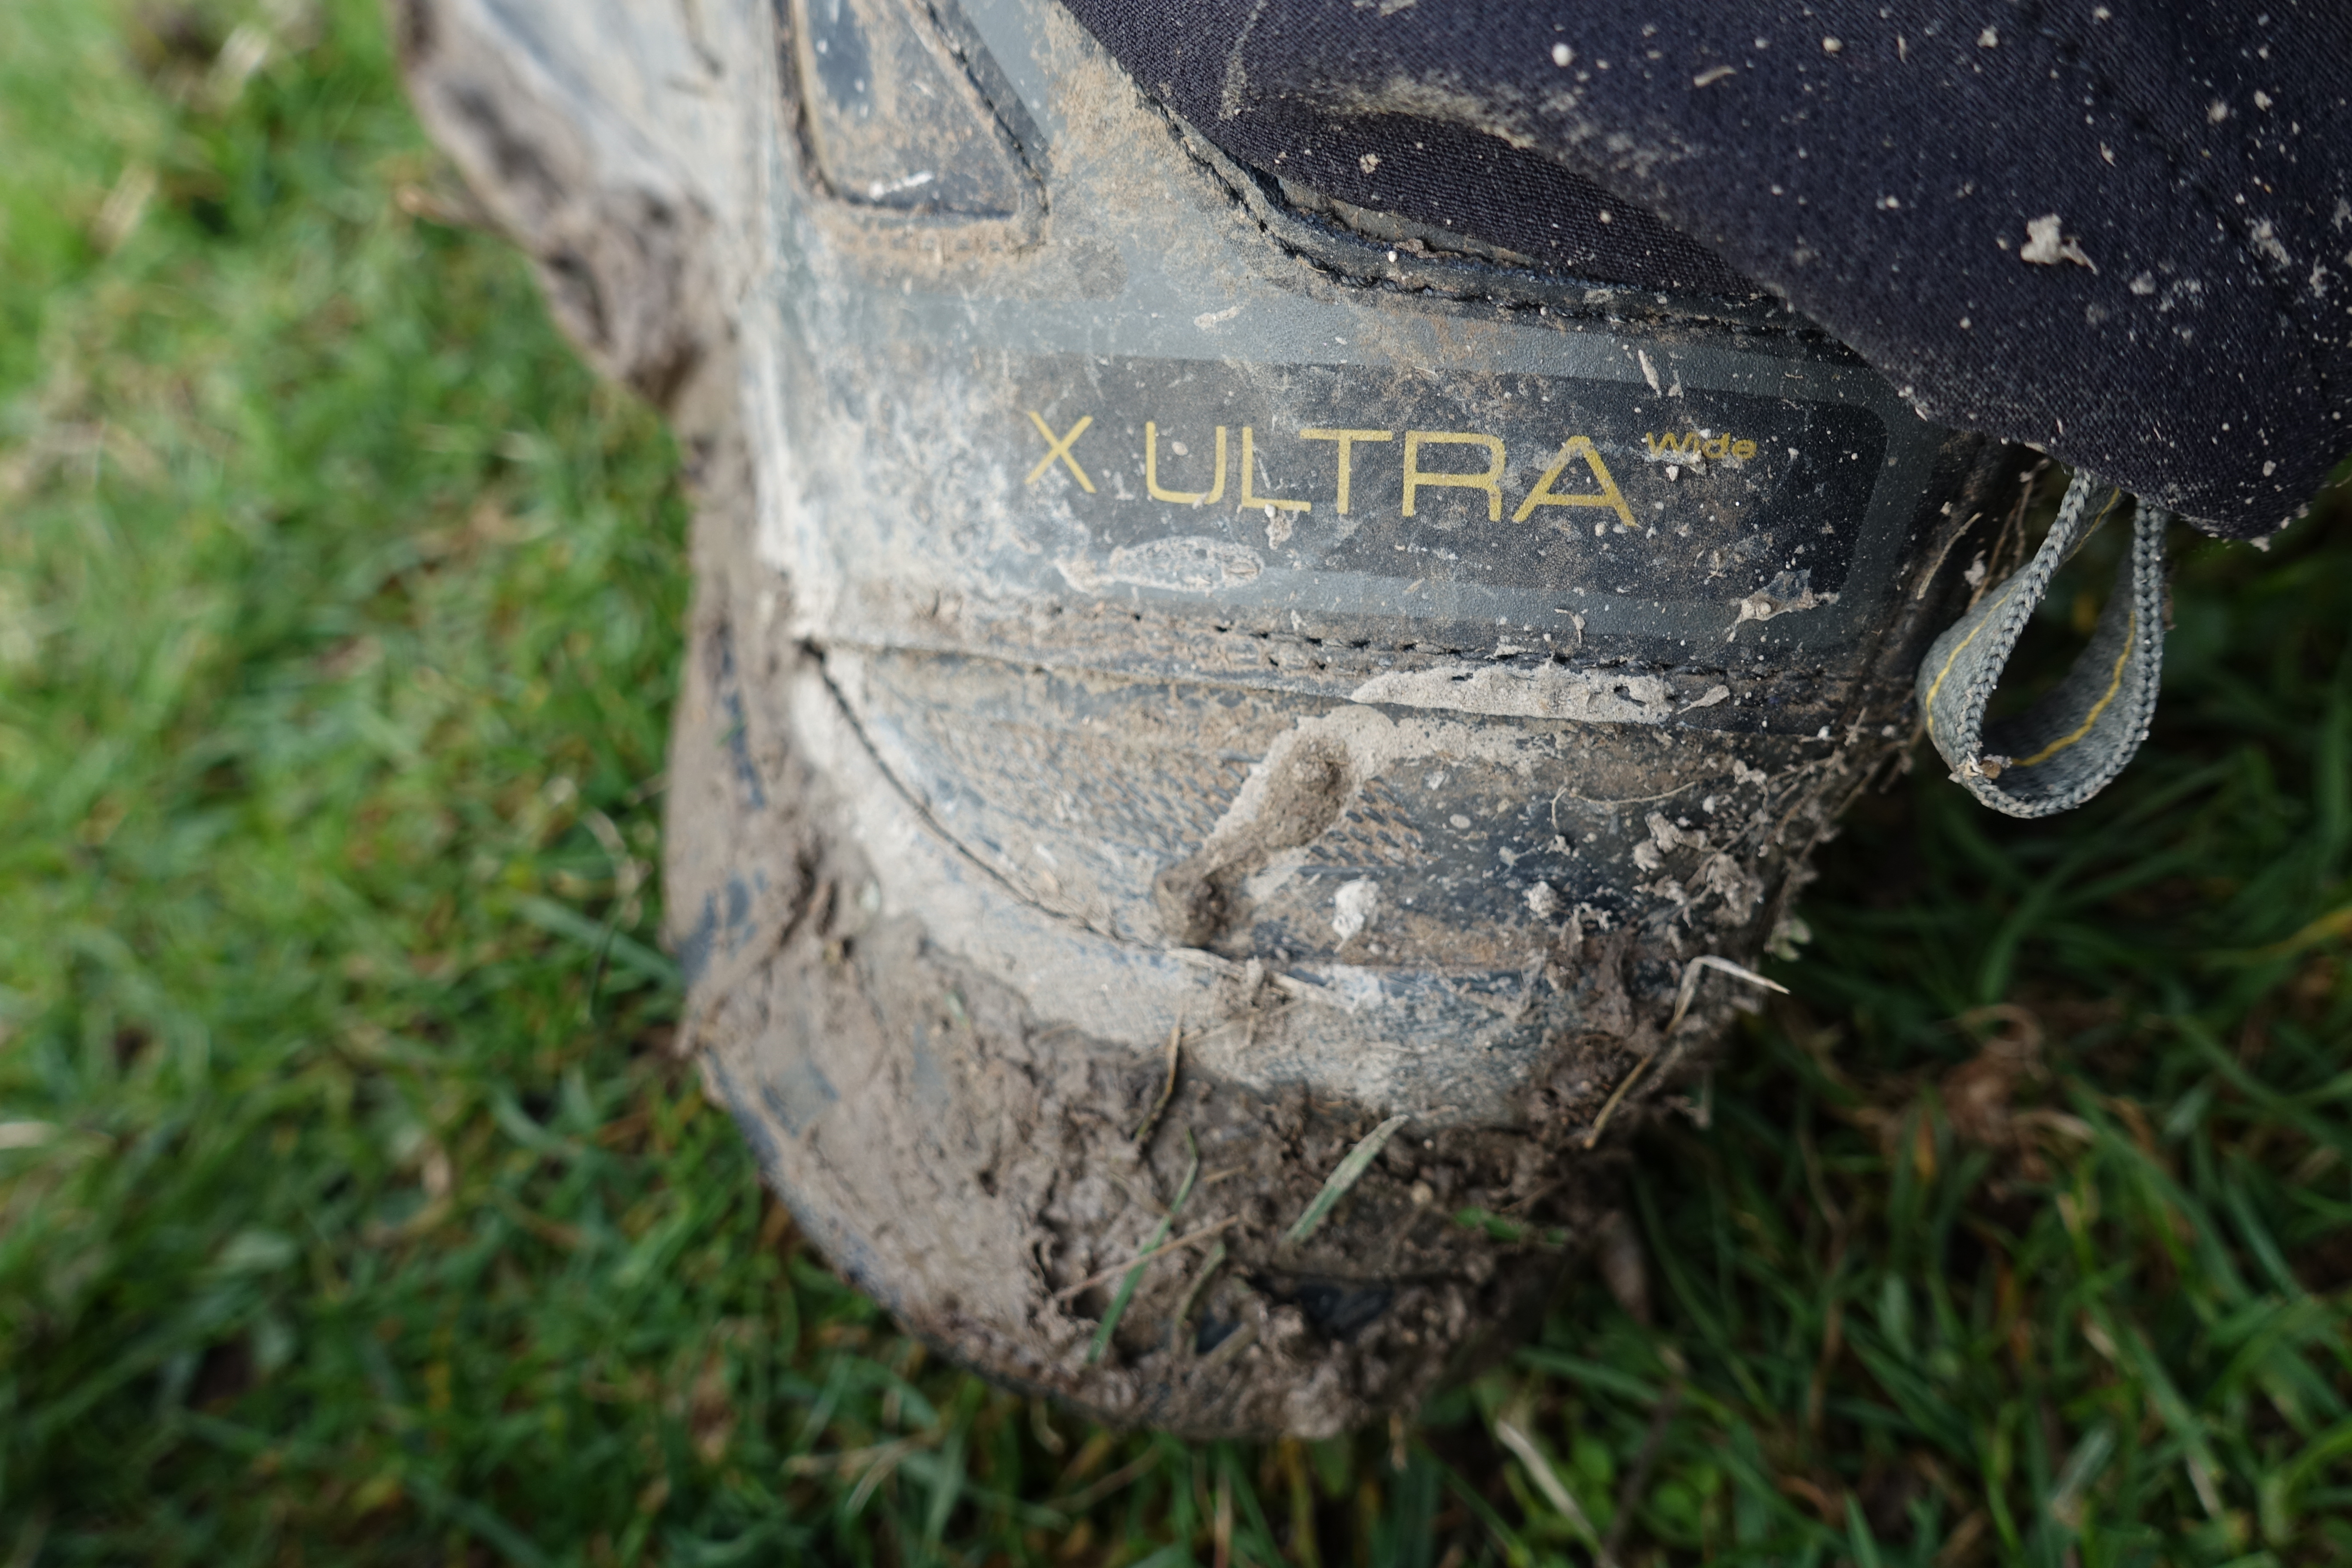
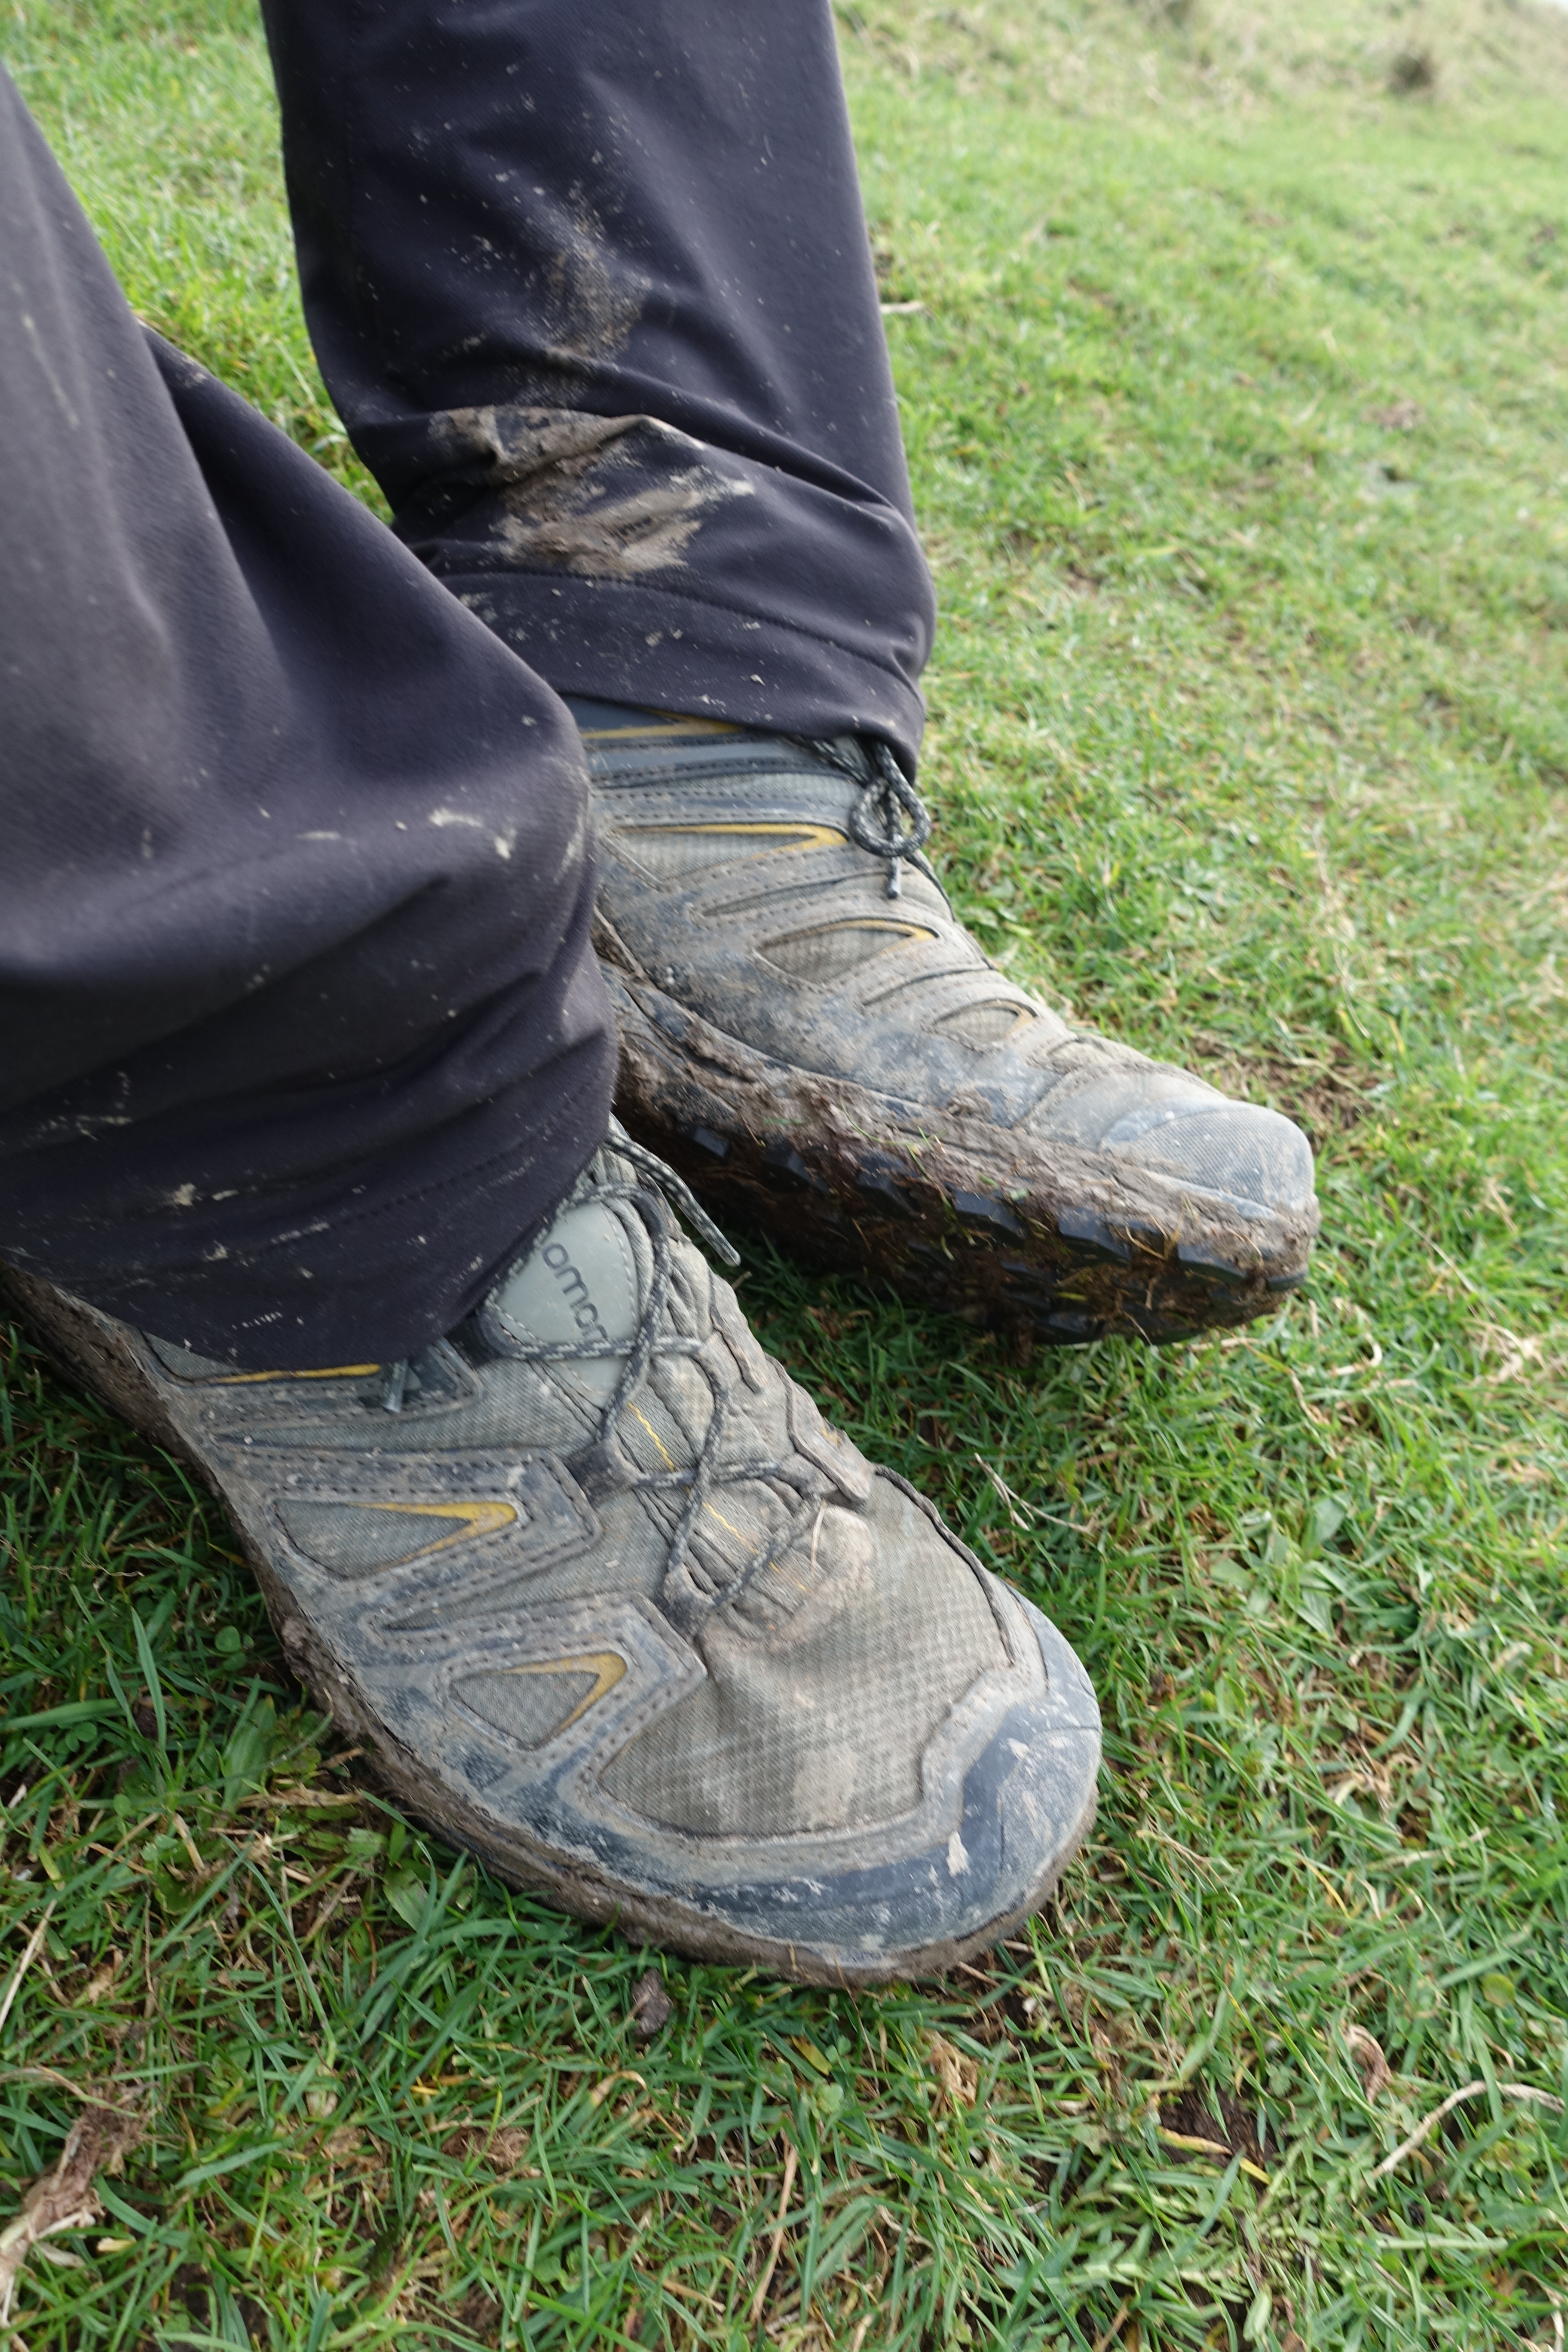
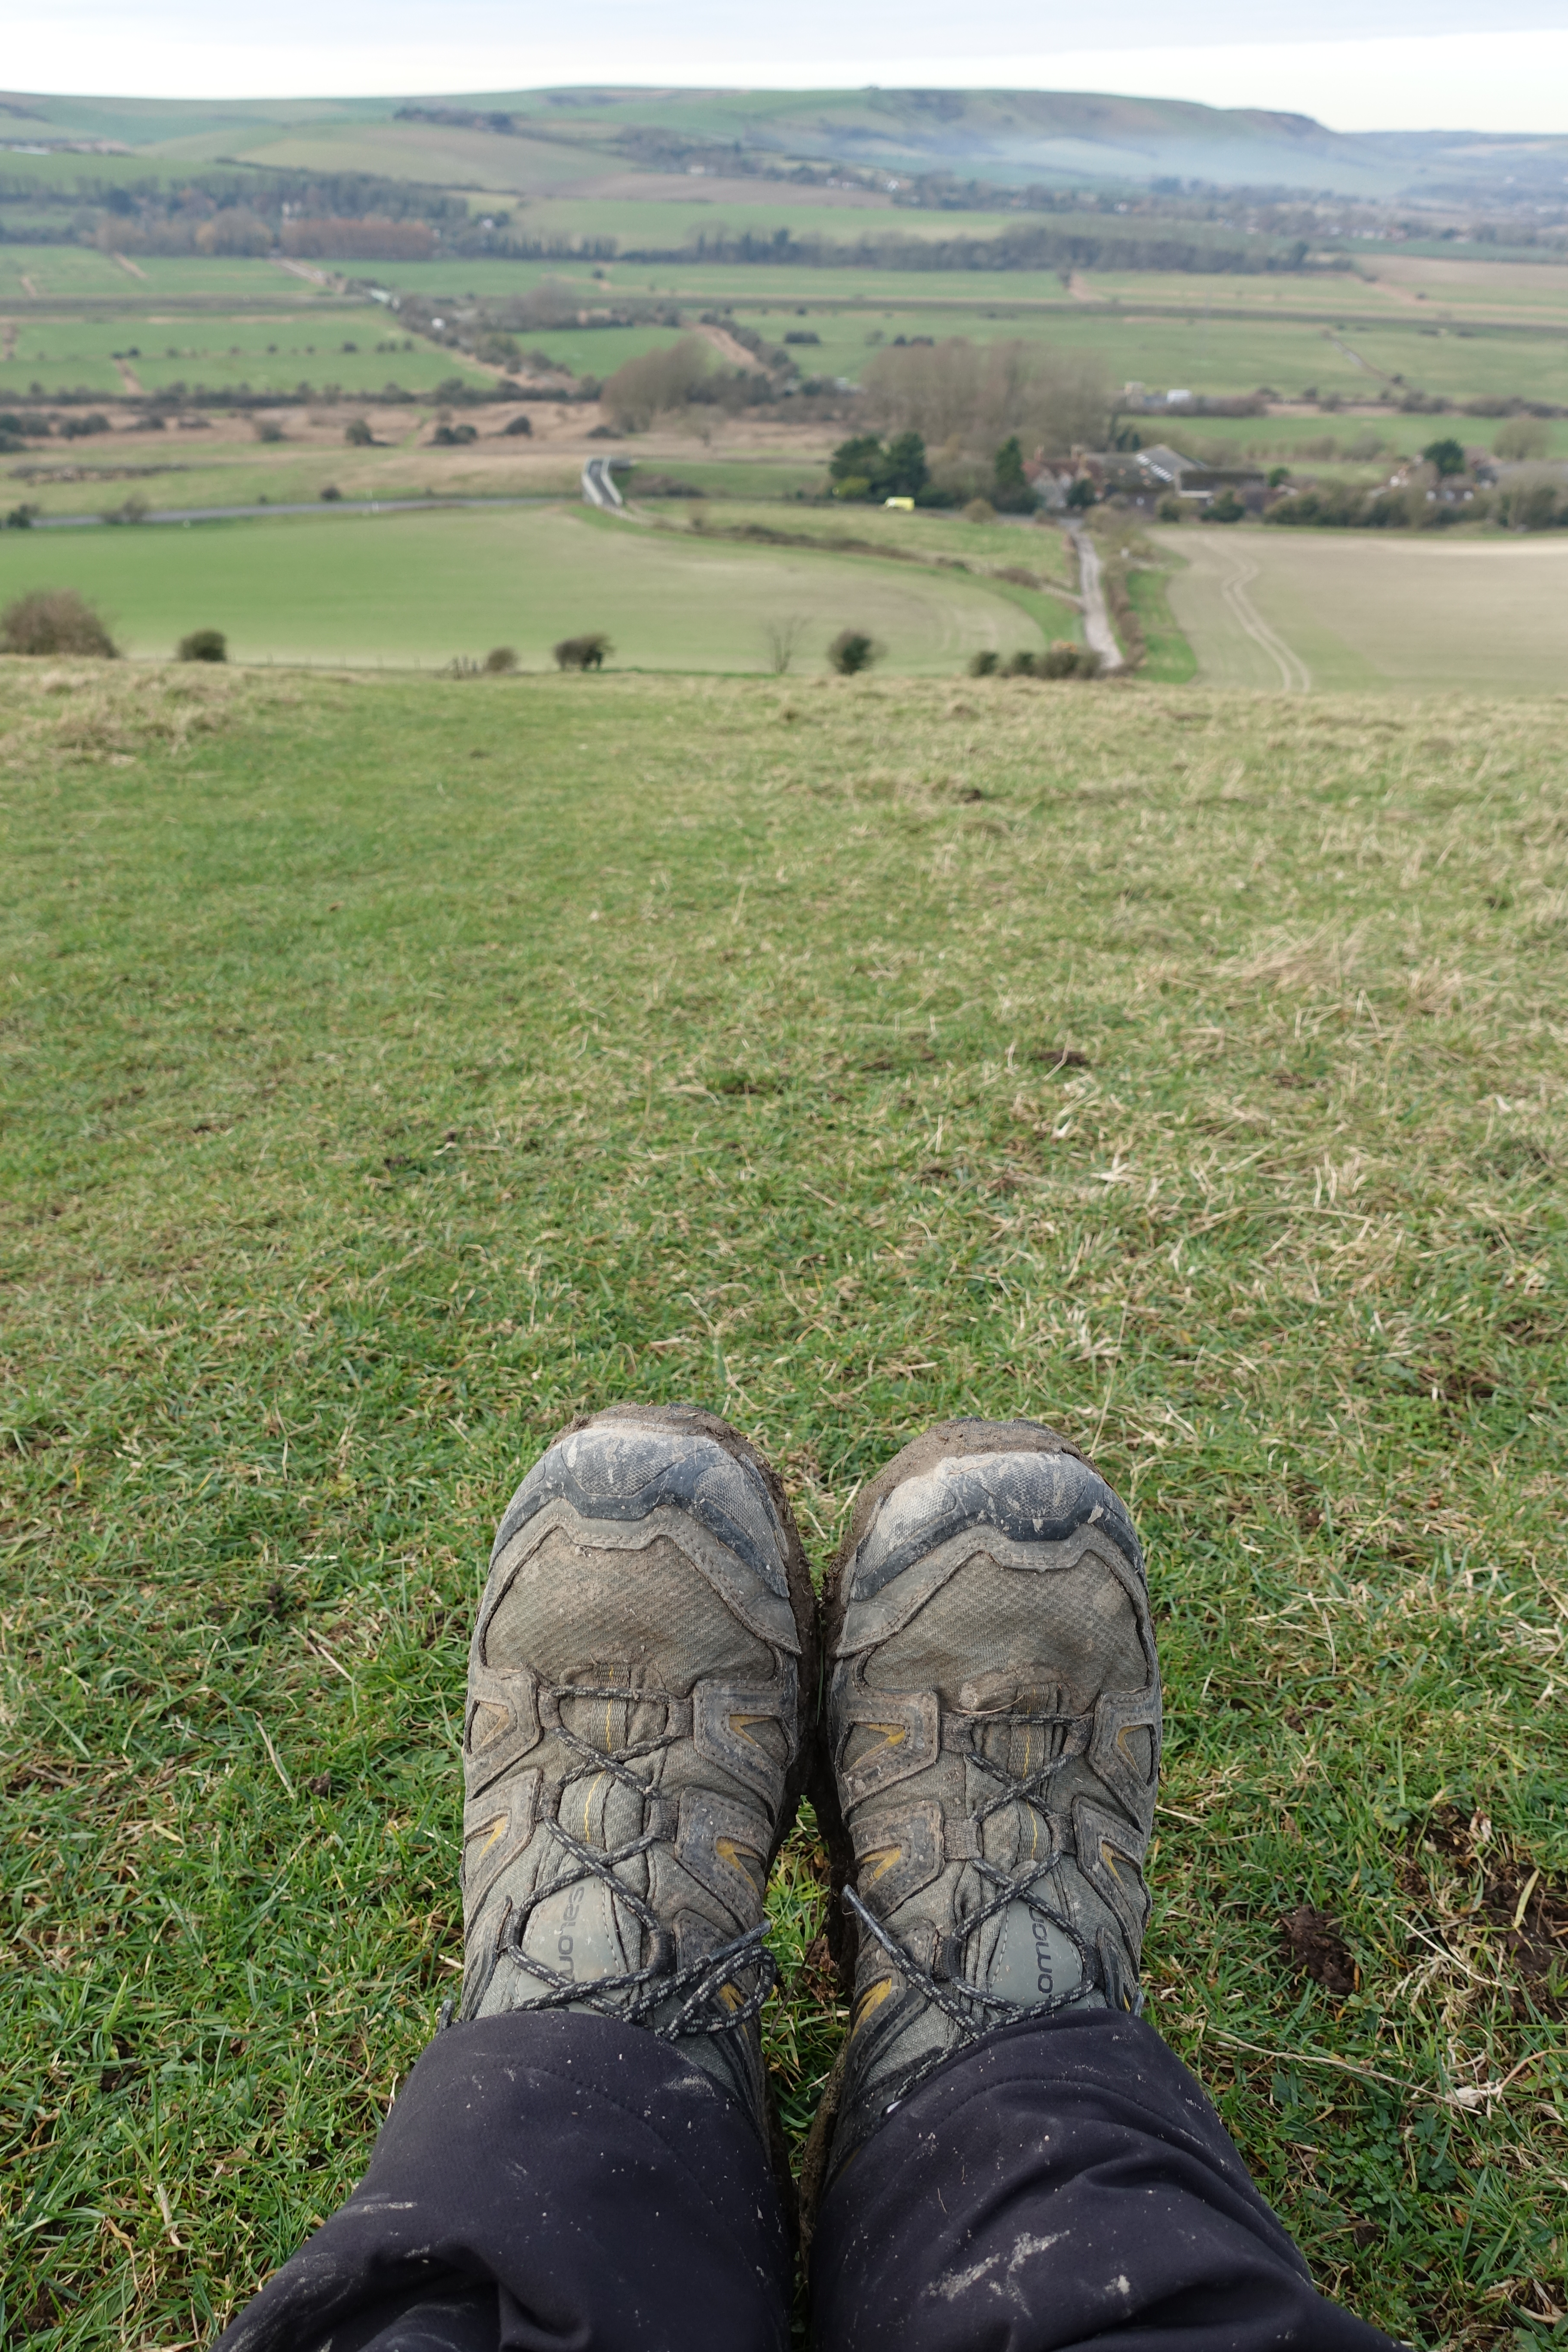
I have bought a lot of shoes and boots in order to find which work best for me. I started well by buying a pair of Meindl Respond mid boots. They were fine until it got wet and slippy, in which conditions they were dreadful. The Gore-tex liner also failed quite quickly so I thought I would go up a grade and moved on to a heavier boot the all leather Meindl Kansas. A lovely bit of footwear, really robust but heavy and which just wasn’t what I wanted for most of my trips. So I started using Trail shoes – Merrell’s Chameleon which I really liked and when discontinued, Merrell’s Capra which I liked less. Then I started wearing Garmont’s Trail Beast which was by far the best shoe I had worn, being tough, supportive and roomy. Subsequently I discovered Salomon’s X Ultra 3D in a wider fit (pics below). These are by far the best shoes (and mids) I have used for mixed walking. They make for pain free treks and easy descents – their key benefit – though they don’t have a sticky sole so aren’t great on slippy/slimy surfaces. They have a GTX lining which still works but if it fails so be it, it’s expected, I do find the lining keeps the feet warmer. 14 miles in the Black Mountains confirmed their effectiveness and comfort. I won’t be looking to replace these in a hurry.
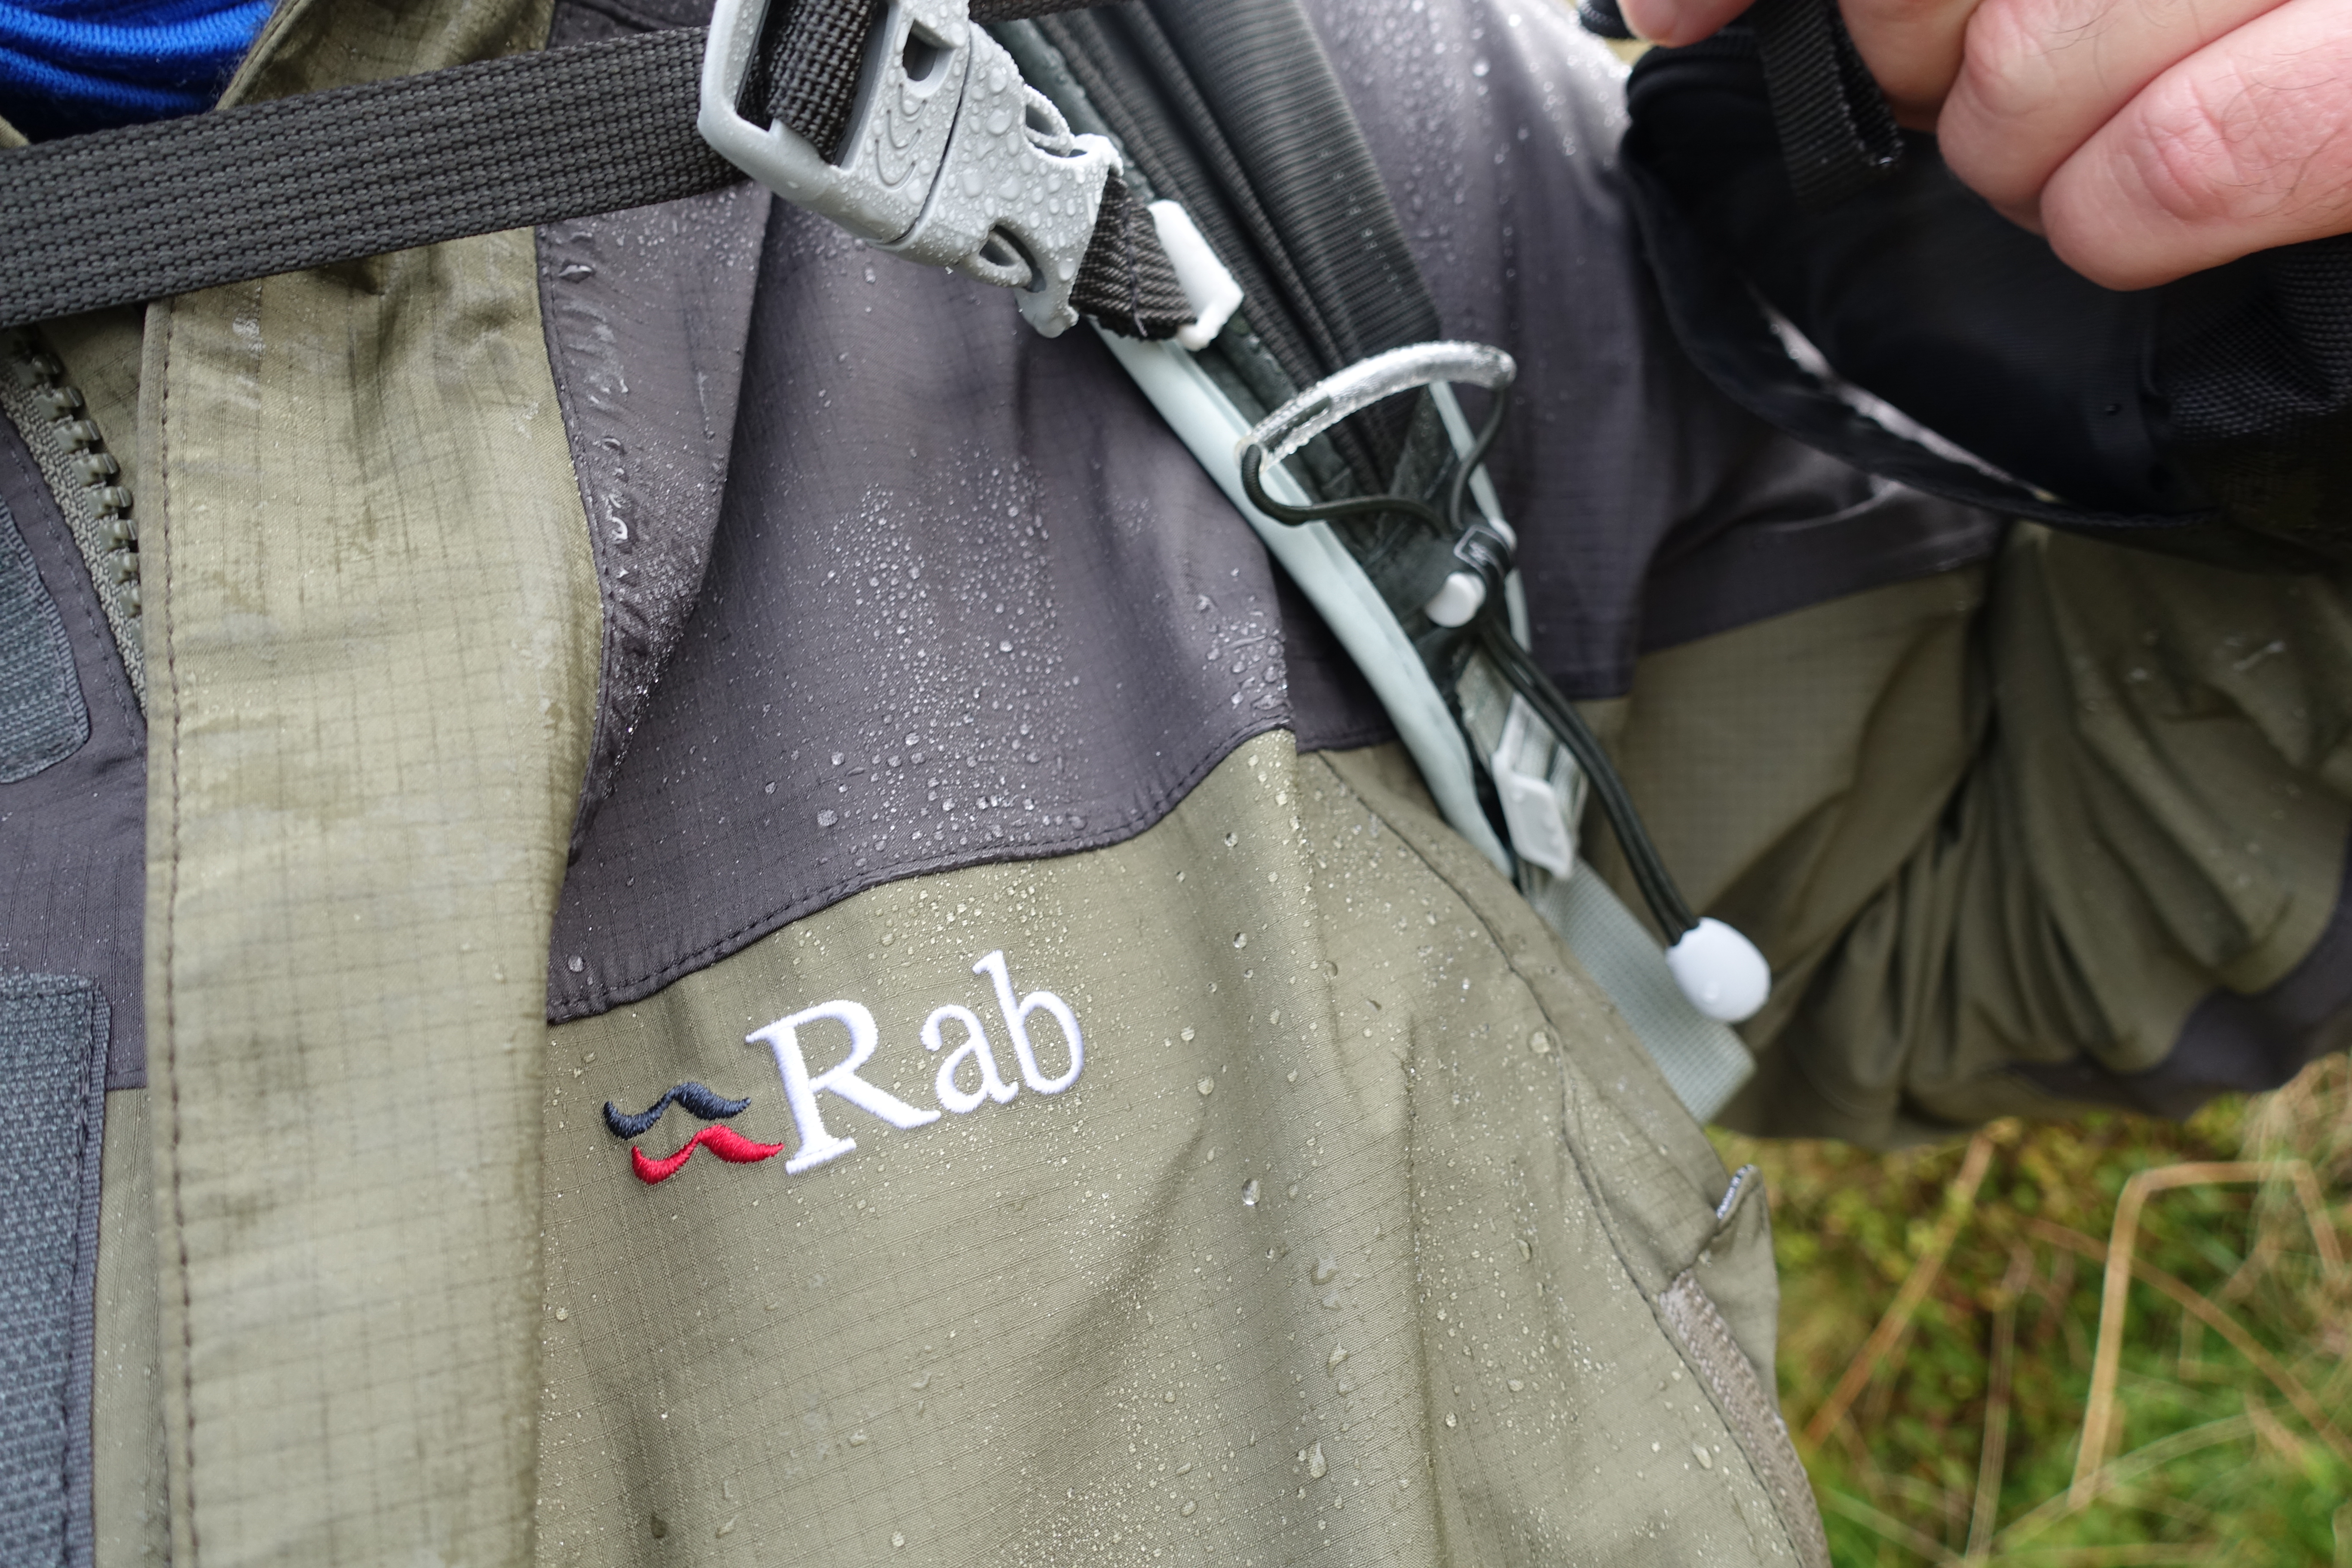
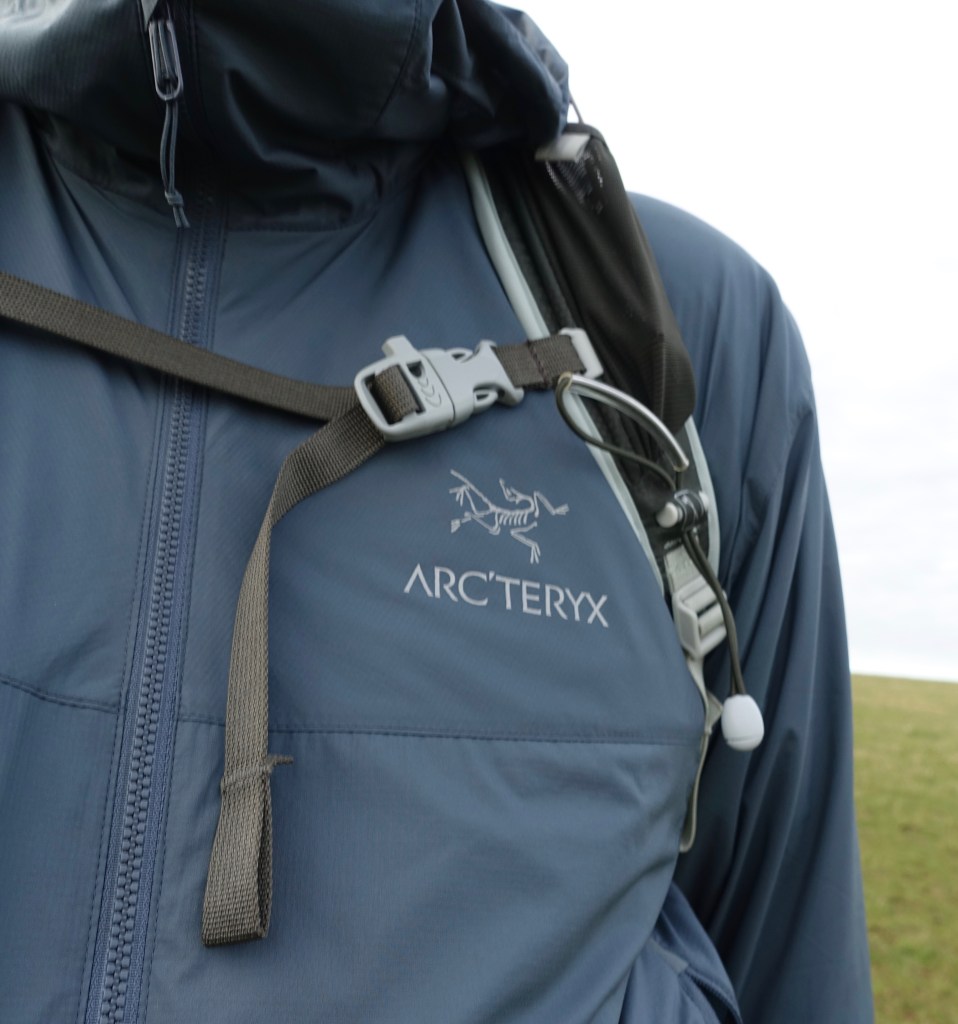
Backpack
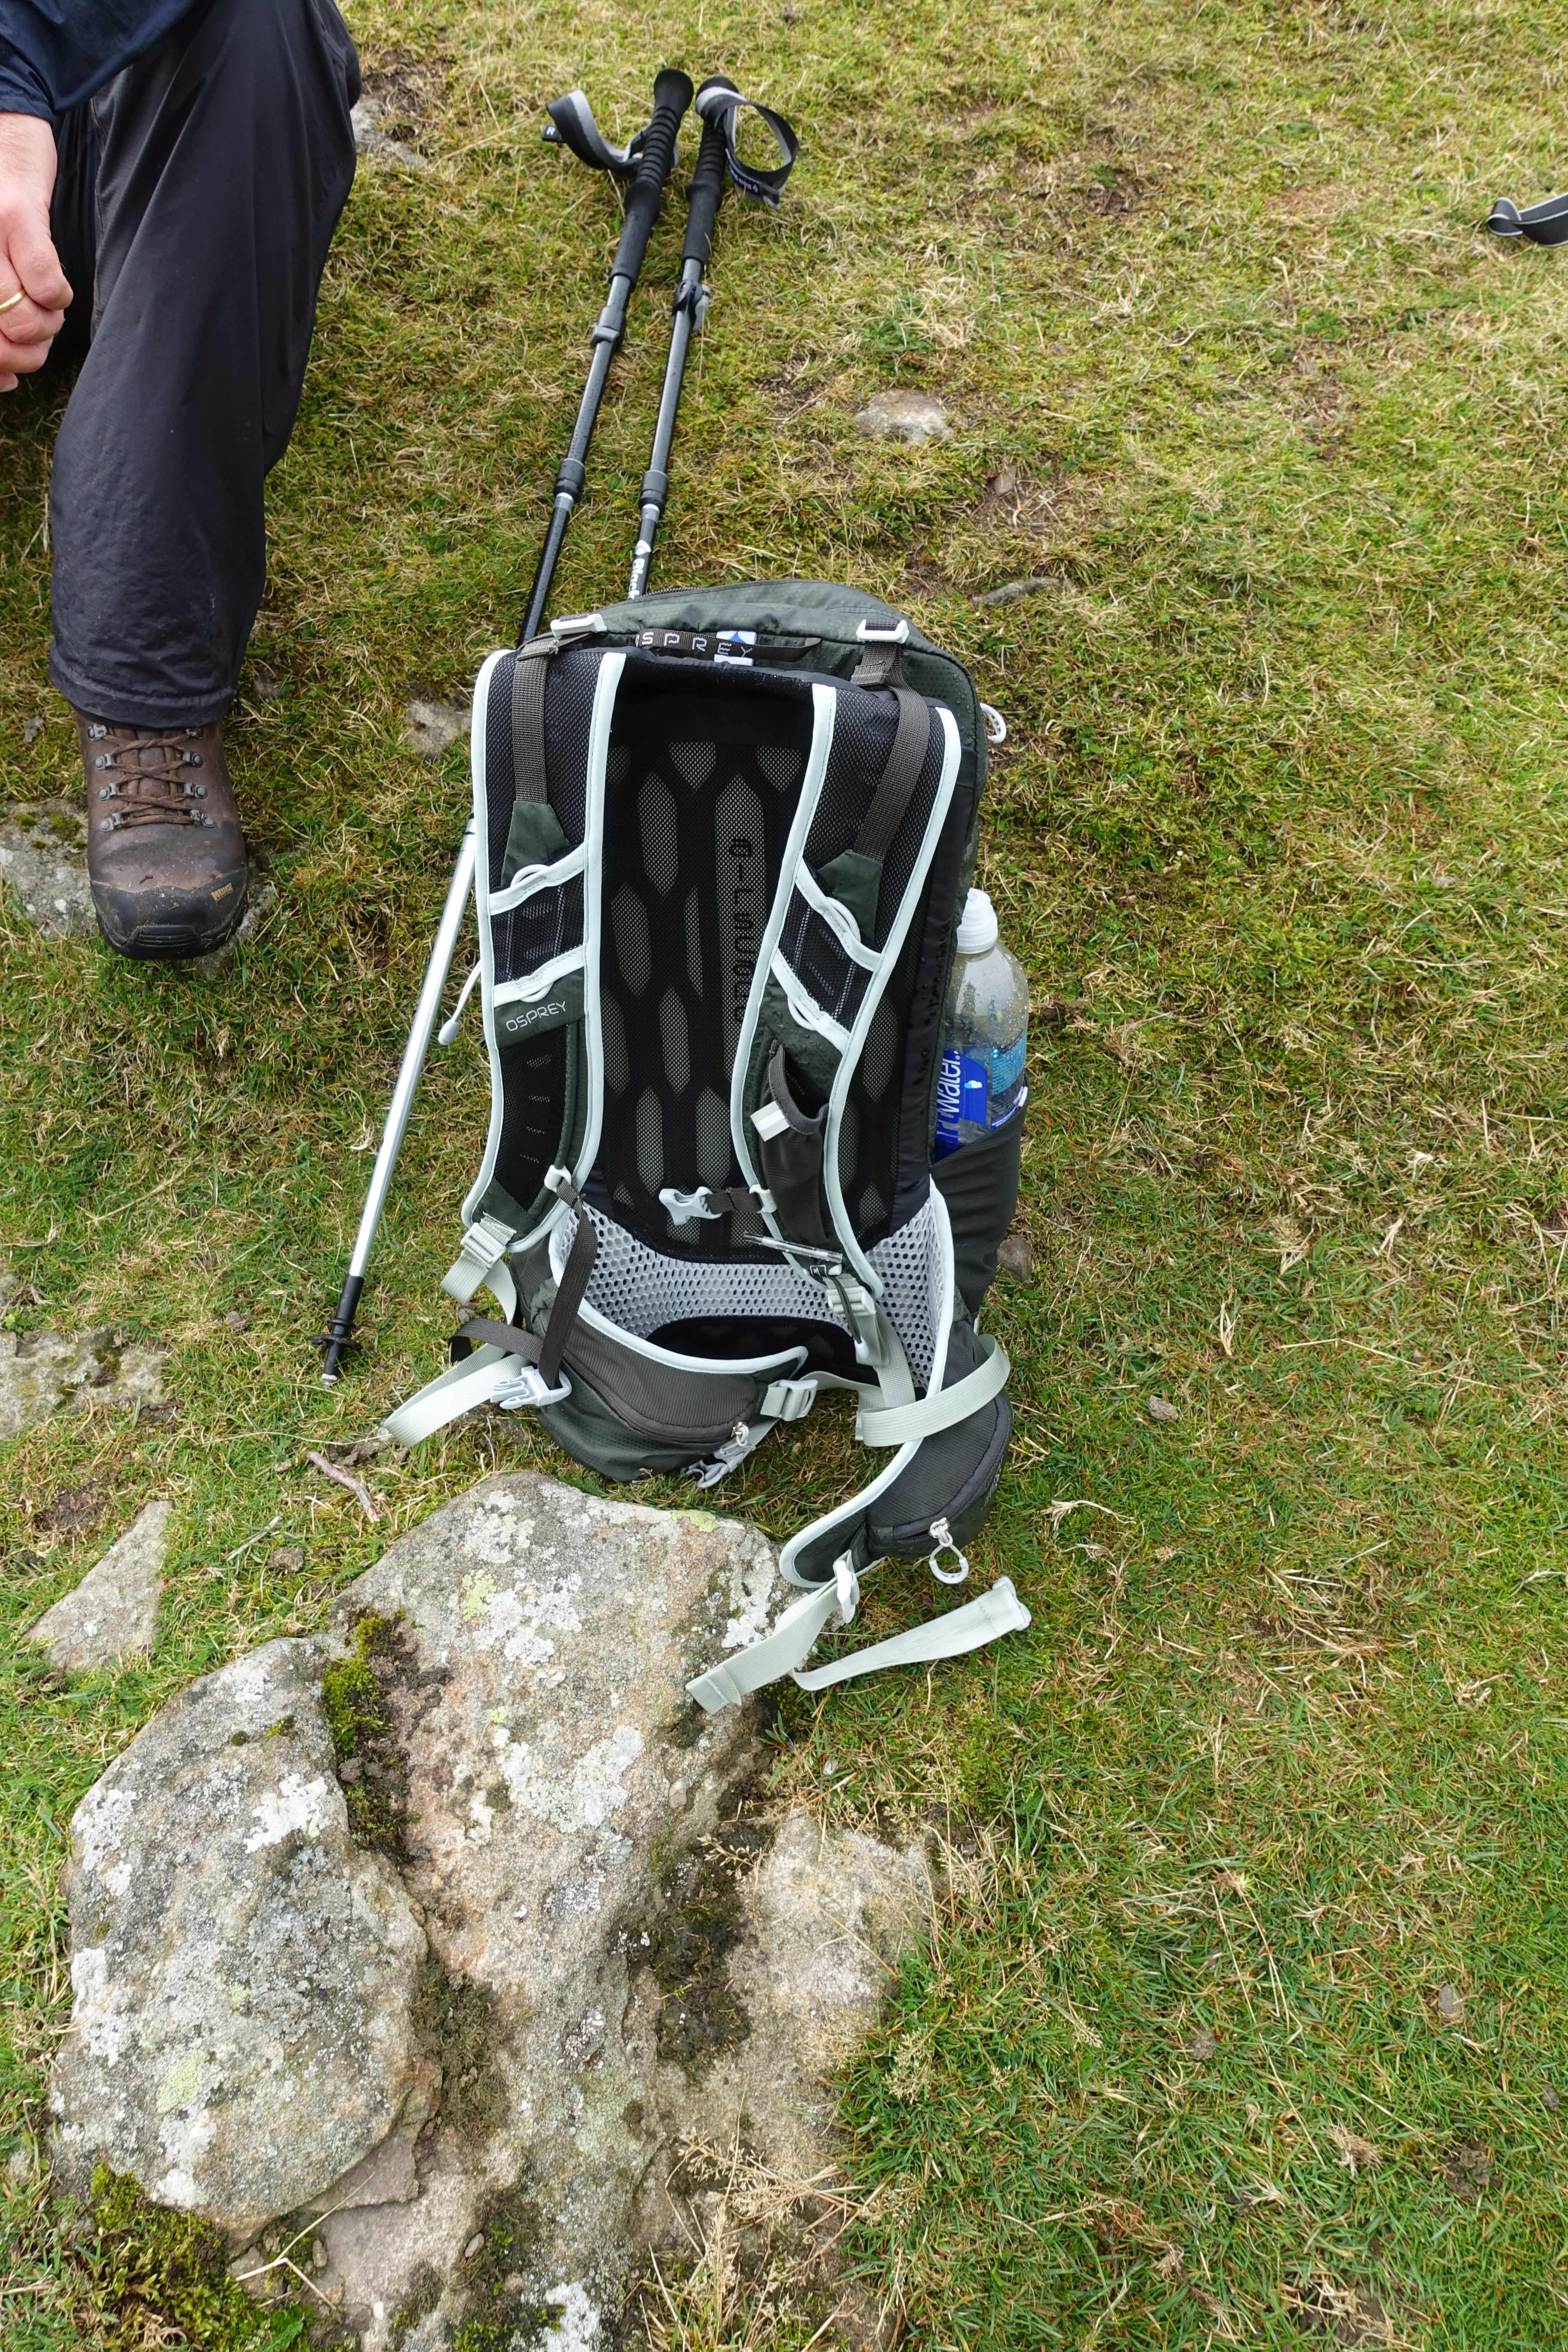
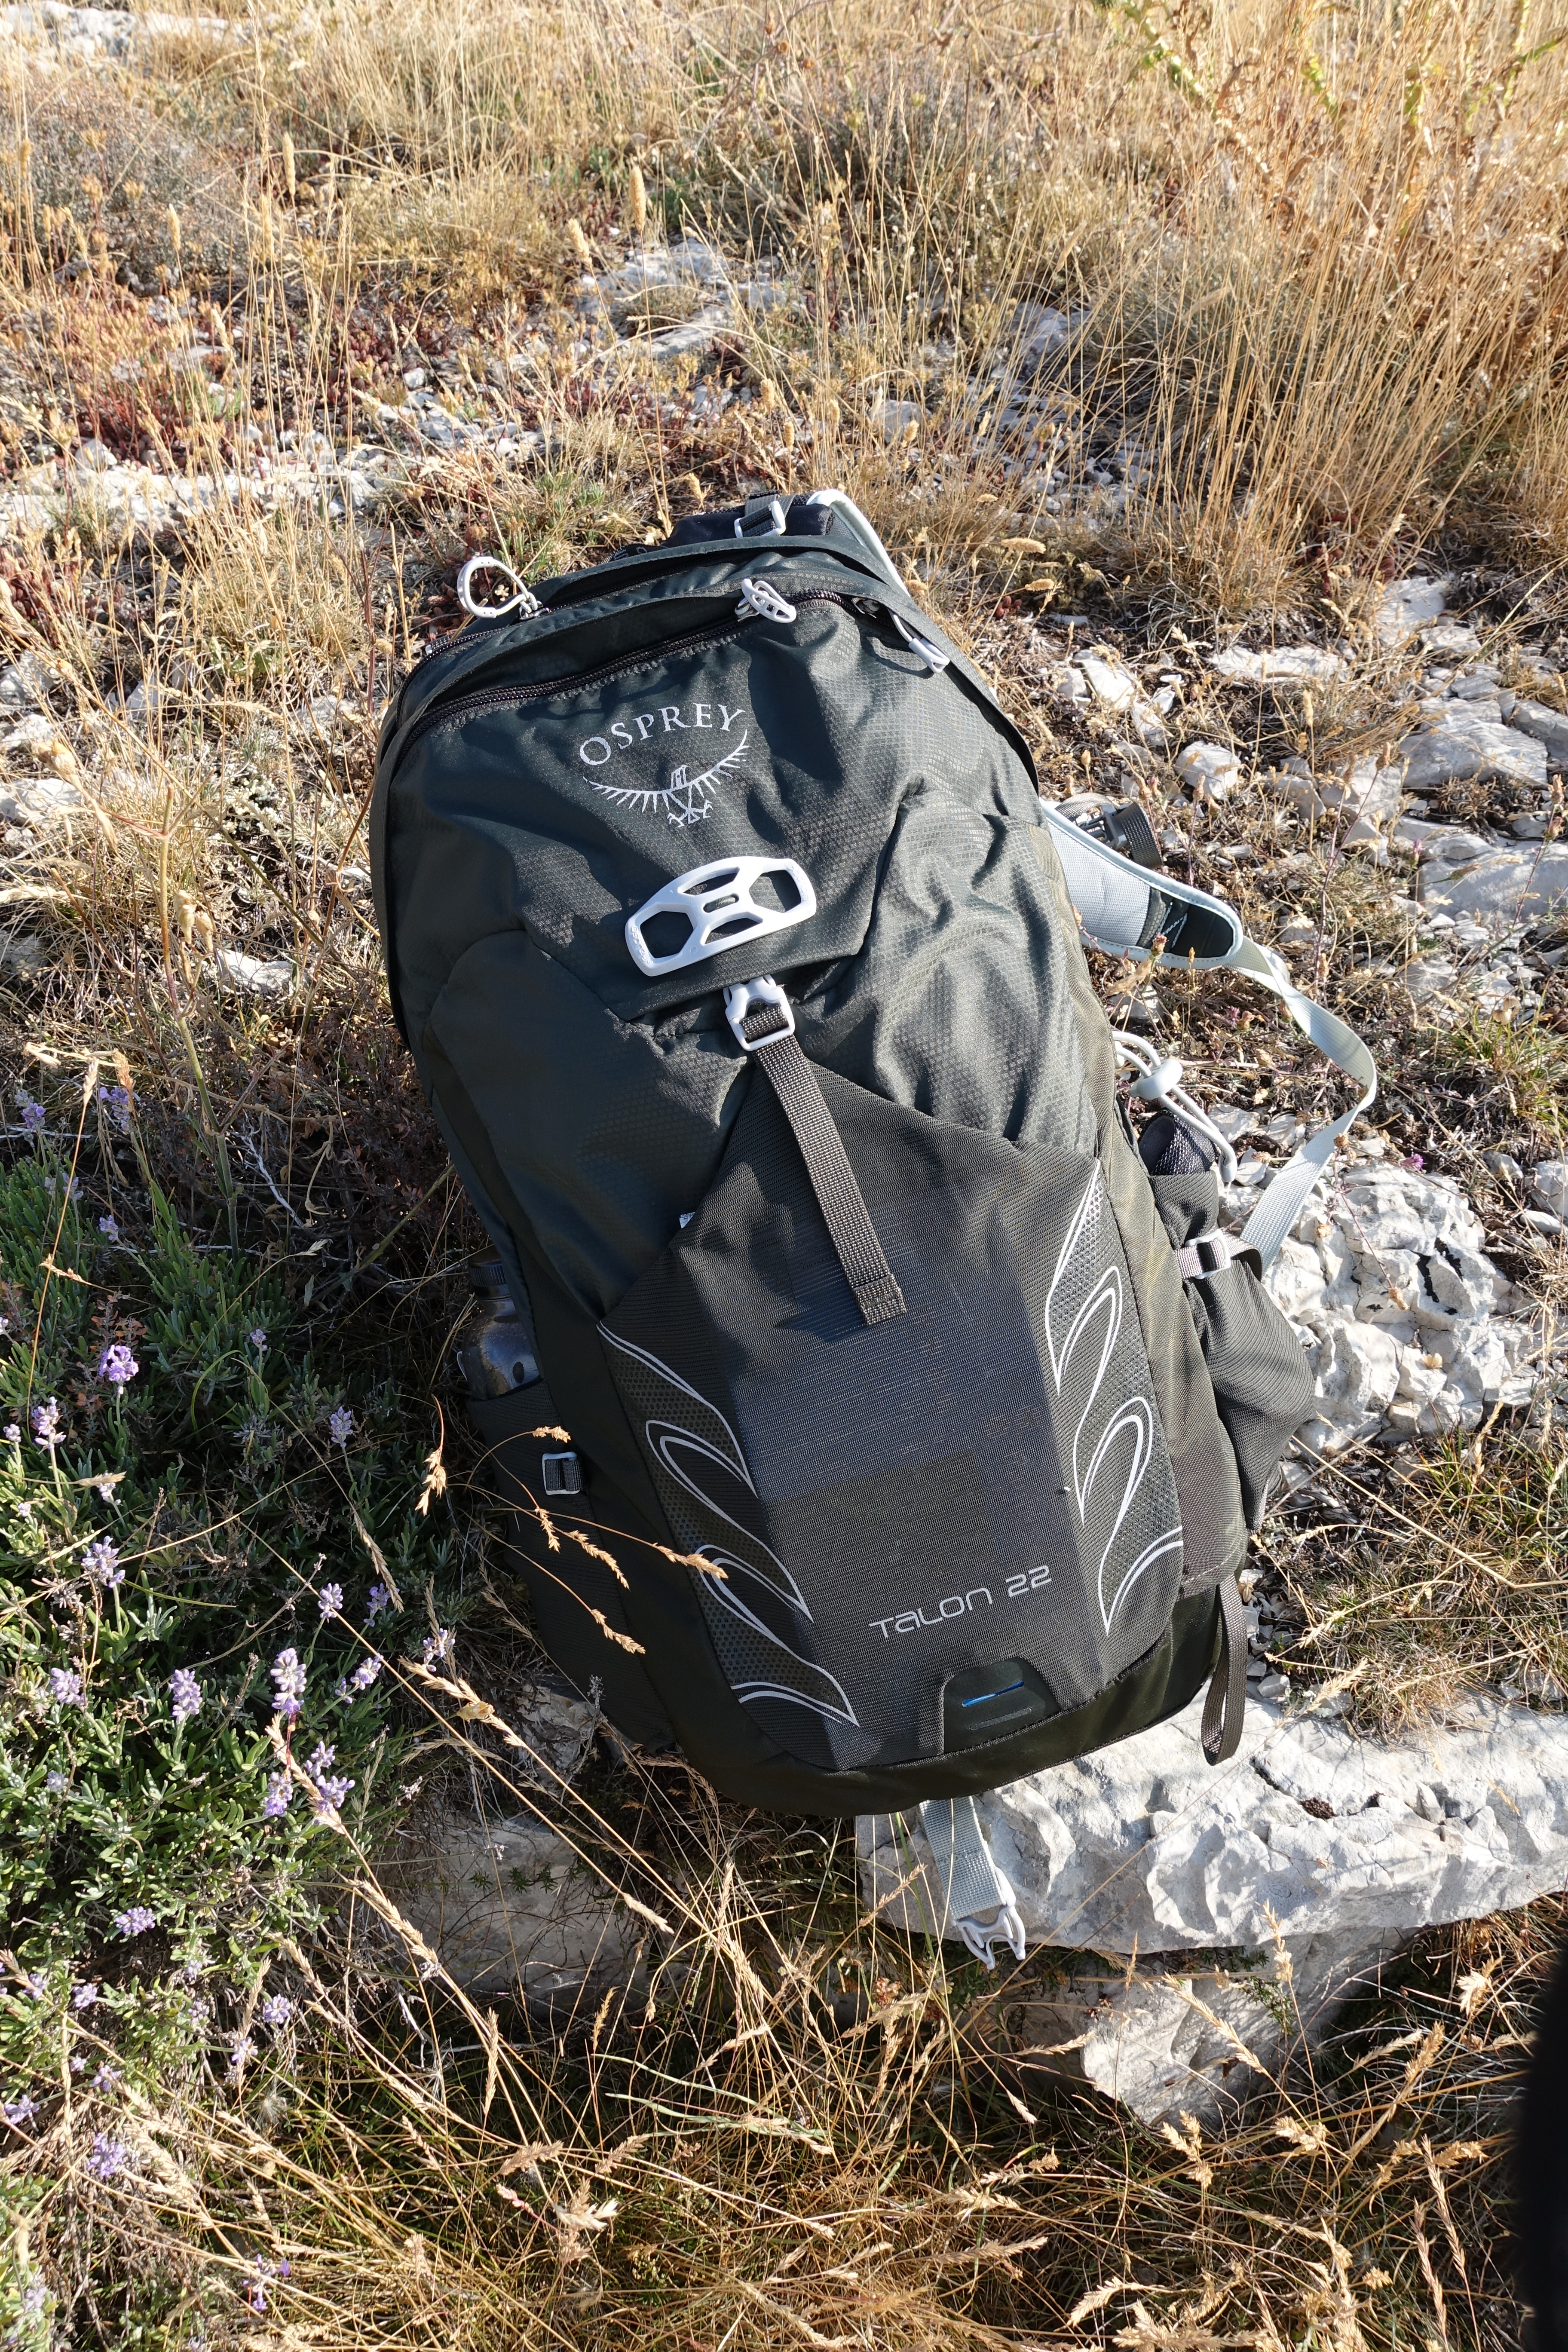
I used to carry all this stuff in a variety of light packs with few features and no consideration of comfort other than weight. Finally I succumbed to the marketing and reviews of those I respected and bought an Osprey Talon 22.
It isn’t particularly light but it really is very good and 22 litres is just about right for a mixed day of UK weather. The Talon torso length is adjustable and it features a venting mesh back panel which works brilliantly in heat or when pounding up hill. The shoulder straps and seamless back/waist pads/belt are comfortable and supportive and breathable. Two small pockets at the hips are useful if not that capacious but will take an iphone, chapstick and a small amount of food or compact camera – though they aren’t at all water resistant. There is one small pocket on the shoulder strap which I use for my glasses and stretchy mesh pockets on each side and on the front are ideally sized for the pack. Osprey have designed a stowage system for poles and added a decent compression system. There is a small pocket behind the head and an inner pocket in the main pack and an external hydration pocket which houses my sit mat and map. It’s a well thought through pack and the quality is really very good. I love it. I don’t over stuff my pack as the pack’ inbuilt comfort is compromised. I would rather go up a size. There is an excellent review of the Talon here.
I generally pack my gear in stuff sacks within the pack primarily to organise the contents with the added benefit of keeping things dry and sometimes use a liner/bin liner to ensure things stay dry. I have an ill-fitting pack cover (the Talon doesn’t come with one) and the Talon’s zips and nominal flaps will allow ingress.
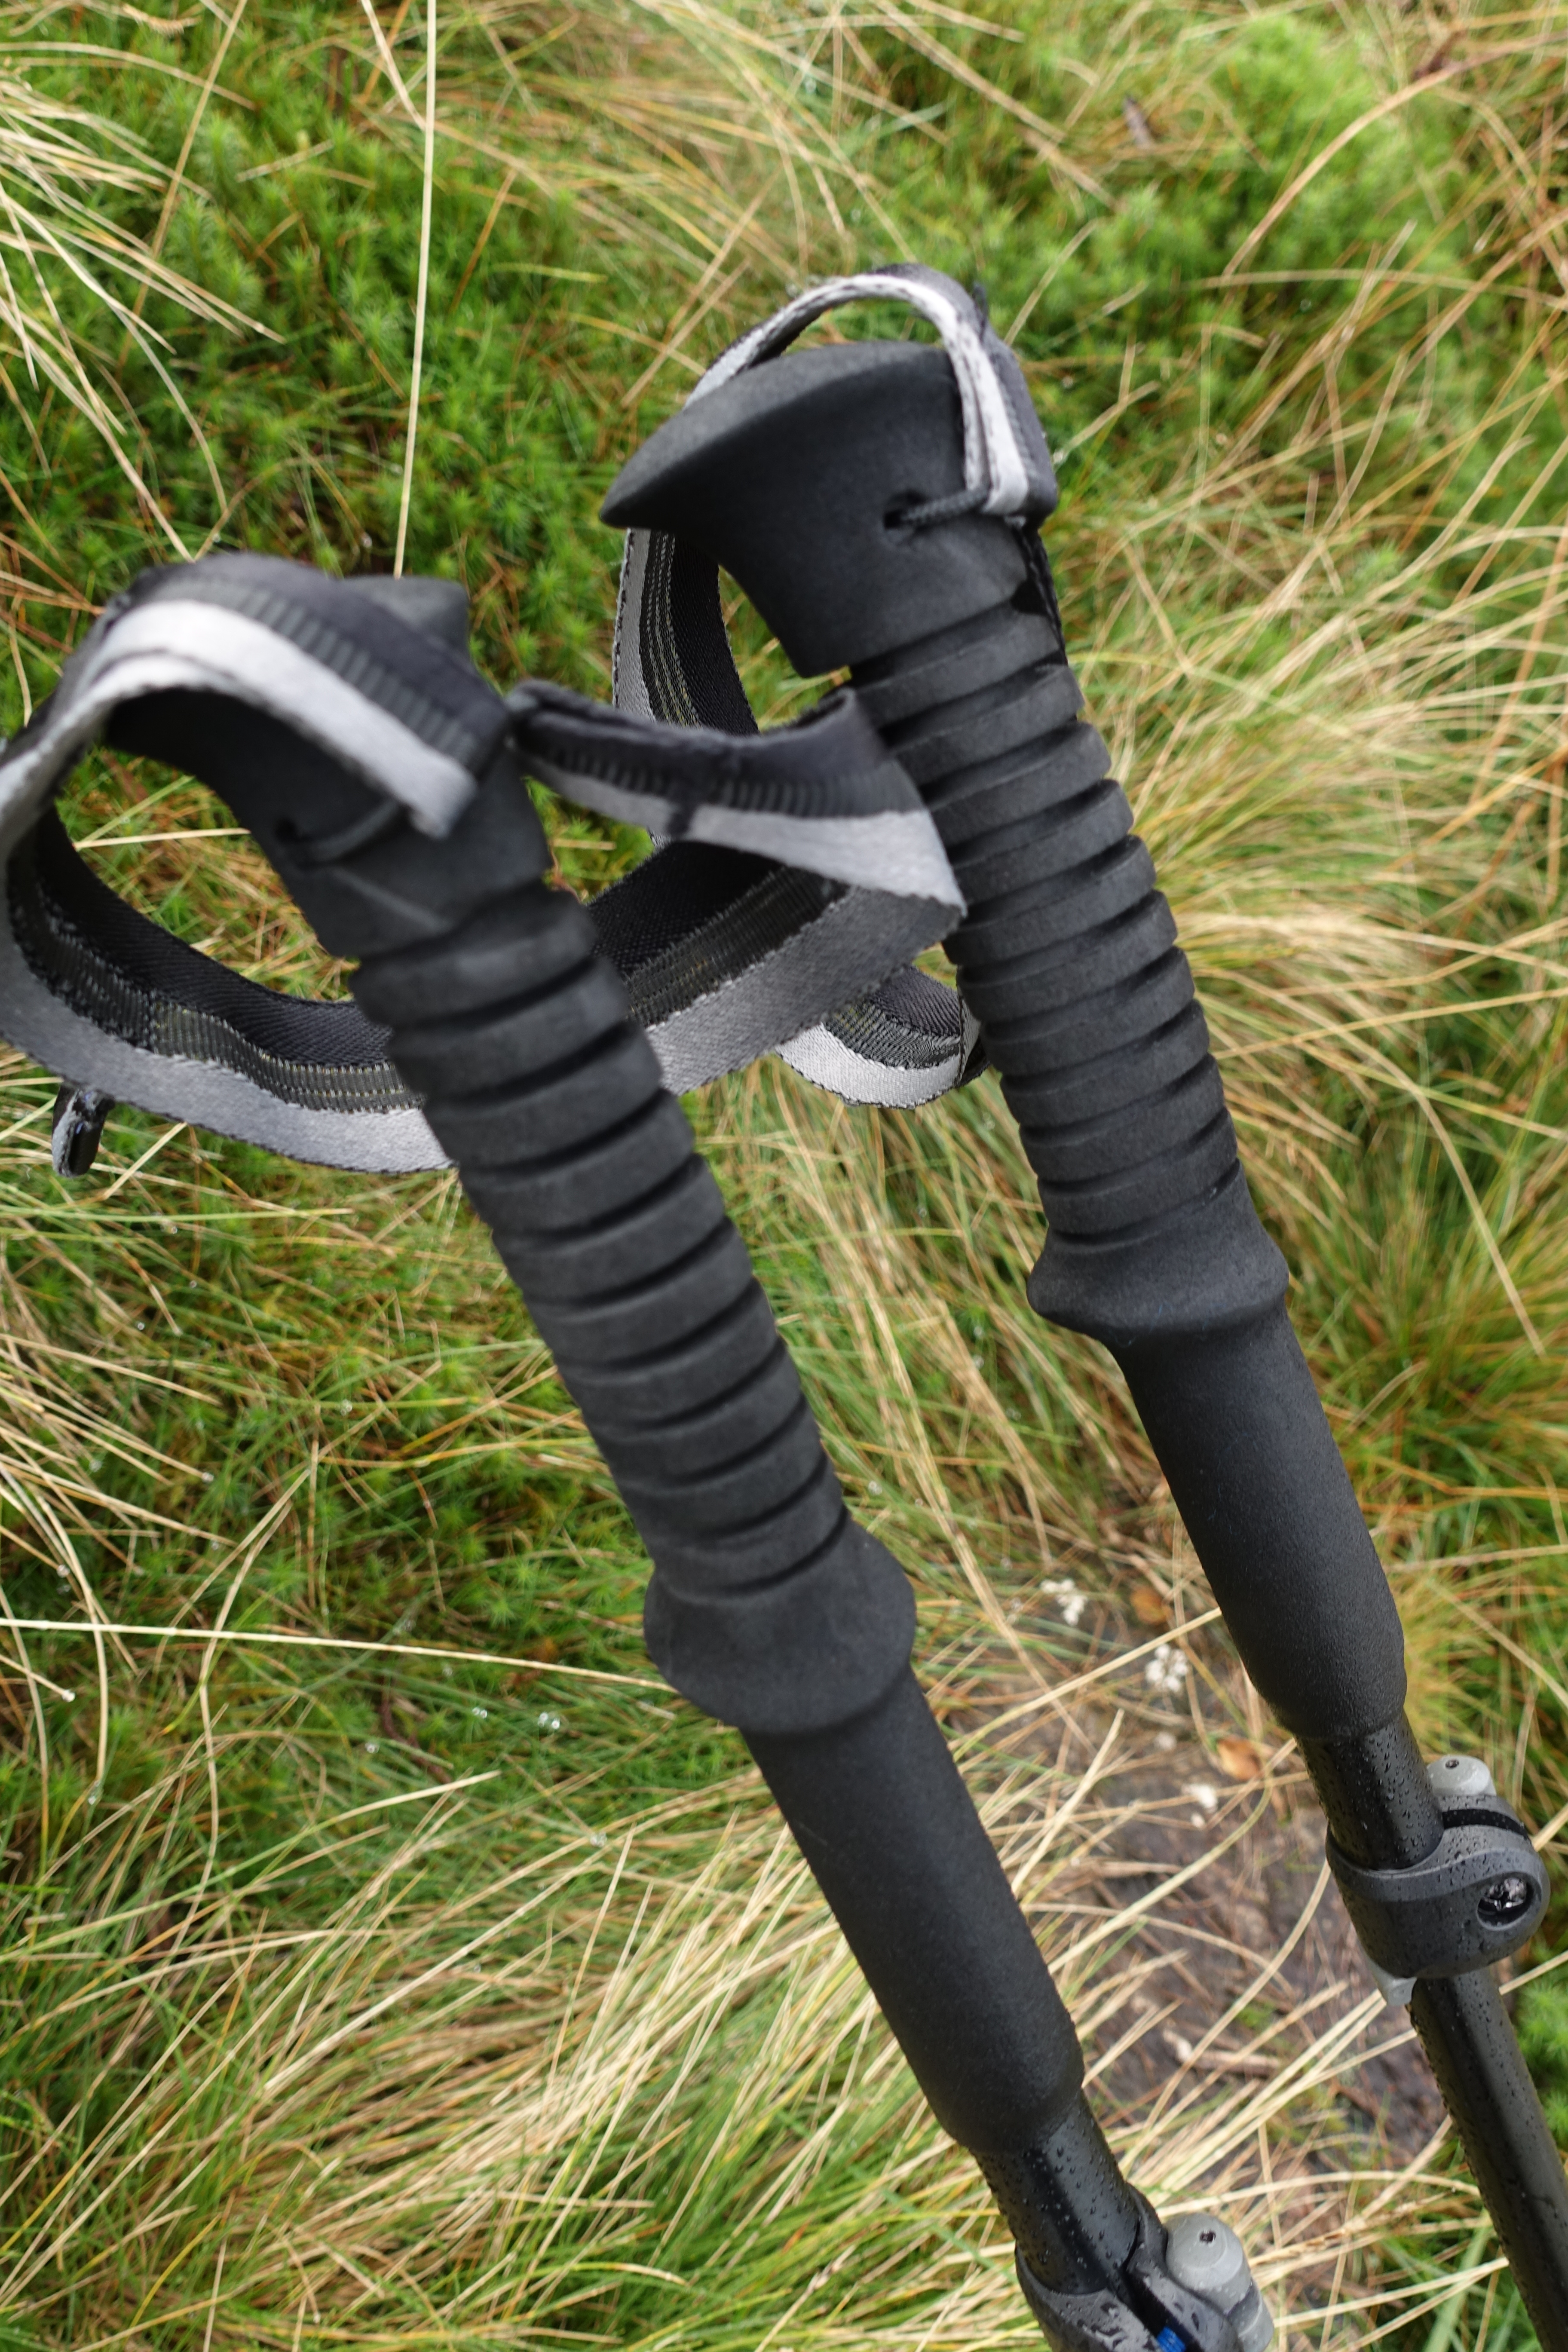
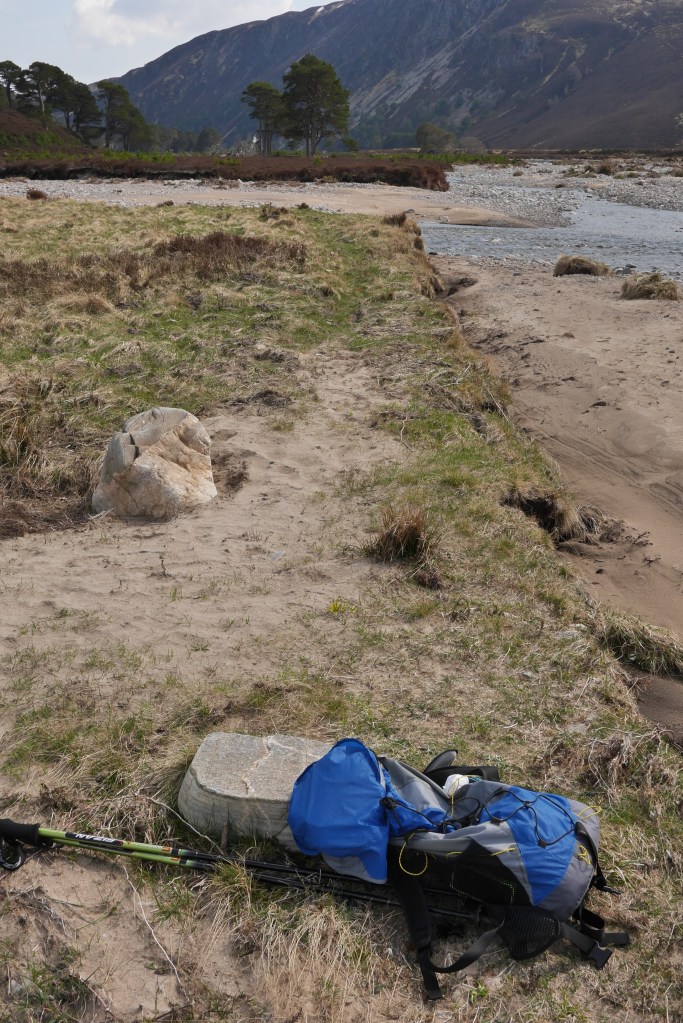
Walking Poles
My first walking poles were a pair of very light Fizan Ultralight compact poles. I loved the fact that they nested into a relatively small tube. That said, they seemed a little flimsy if compact. They worked well for a few years until I started on an overnight trip in Scotland and they just wouldn’t slide out – or at least one wouldn’t. The aluminium had corroded a bit and that and some grit and they suddenly became useless, the twist mechanism wouldn’t work. As I was changing my shelter to one which relied on trekking poles to support it, I did a little research and found an excellent review of the Black Diamond Distance FLZ poles. The joy of the community is the trouble people take passing on knowledge, it’s incredible. The reviewer had a similar experience with the Fizan poles and settled on the FLZ poles as a good, robust compromise. They break down into three parts and make a compact 350mm length package which comfortably sits in the side pocket of the Talon with the pack’s elastic securing them. They are strong and adjustable up to 20cm ensuring they can be used by me being average height and to support either of my two shelters, the Tarptent Notch and Durston X-mid. The wrist straps are excellent and the handles comfortable. I also have a pair of Leki CF poles which I like but I just think the FLZ poles are tougher.